So, you’ve just unboxed that shiny new hand mixer. The box promises fluffy cakes, perfect whipped cream, and smooth batters. You’re filled with culinary excitement, but also… a little bit of uncertainty. We’ve all been there. Learning How To Use A Hand Mixer For The First Time can feel a bit intimidating, but I promise you, it’s about to become your favorite kitchen sidekick. Forget arm-numbing whisking; you’re about to unlock a new level of ease and efficiency in your baking adventures.
In this comprehensive guide, we’ll walk you through everything, from the history of this nifty gadget to the nitty-gritty of your first mix. Think of me as your personal kitchen guru, here to make sure your first experience is a smashing success (and not a batter-splattering mess!).
A Quick Spin Through History: The Humble Hand Mixer
Before we plug anything in, let’s appreciate the journey of this little powerhouse. While the first electric mixer was a bulky stand mixer patented in the late 1800s, the portable, lightweight hand mixer we know and love didn’t really hit the mainstream until the mid-20th century. Companies like Sunbeam led the charge, liberating home bakers from the tedious task of creaming butter and sugar by hand. It was a true game-changer, making baking more accessible and enjoyable for everyone.
What to Look For in Your First Hand Mixer
Perhaps you’re reading this before making a purchase, or maybe you’re just curious about the one you received as a gift. Understanding the key features is crucial for getting the most out of your appliance.
Key Features Breakdown
- Power (Wattage): You’ll see wattage listed on the box, typically ranging from 150 to 350 watts for hand mixers. While higher wattage can indicate a more powerful motor, it’s not the whole story. A well-designed 250-watt mixer can easily outperform a poorly designed 300-watt one. For most home baking—cakes, cookies, and frostings—a mixer in the 200-250 watt range is the sweet spot.
- Speed Settings: Look for a mixer with at least 5 speeds. Critically, you want one with a very slow first speed, often called a “slow start” feature. This is your best friend for preventing a flour explosion when you first combine wet and dry ingredients.
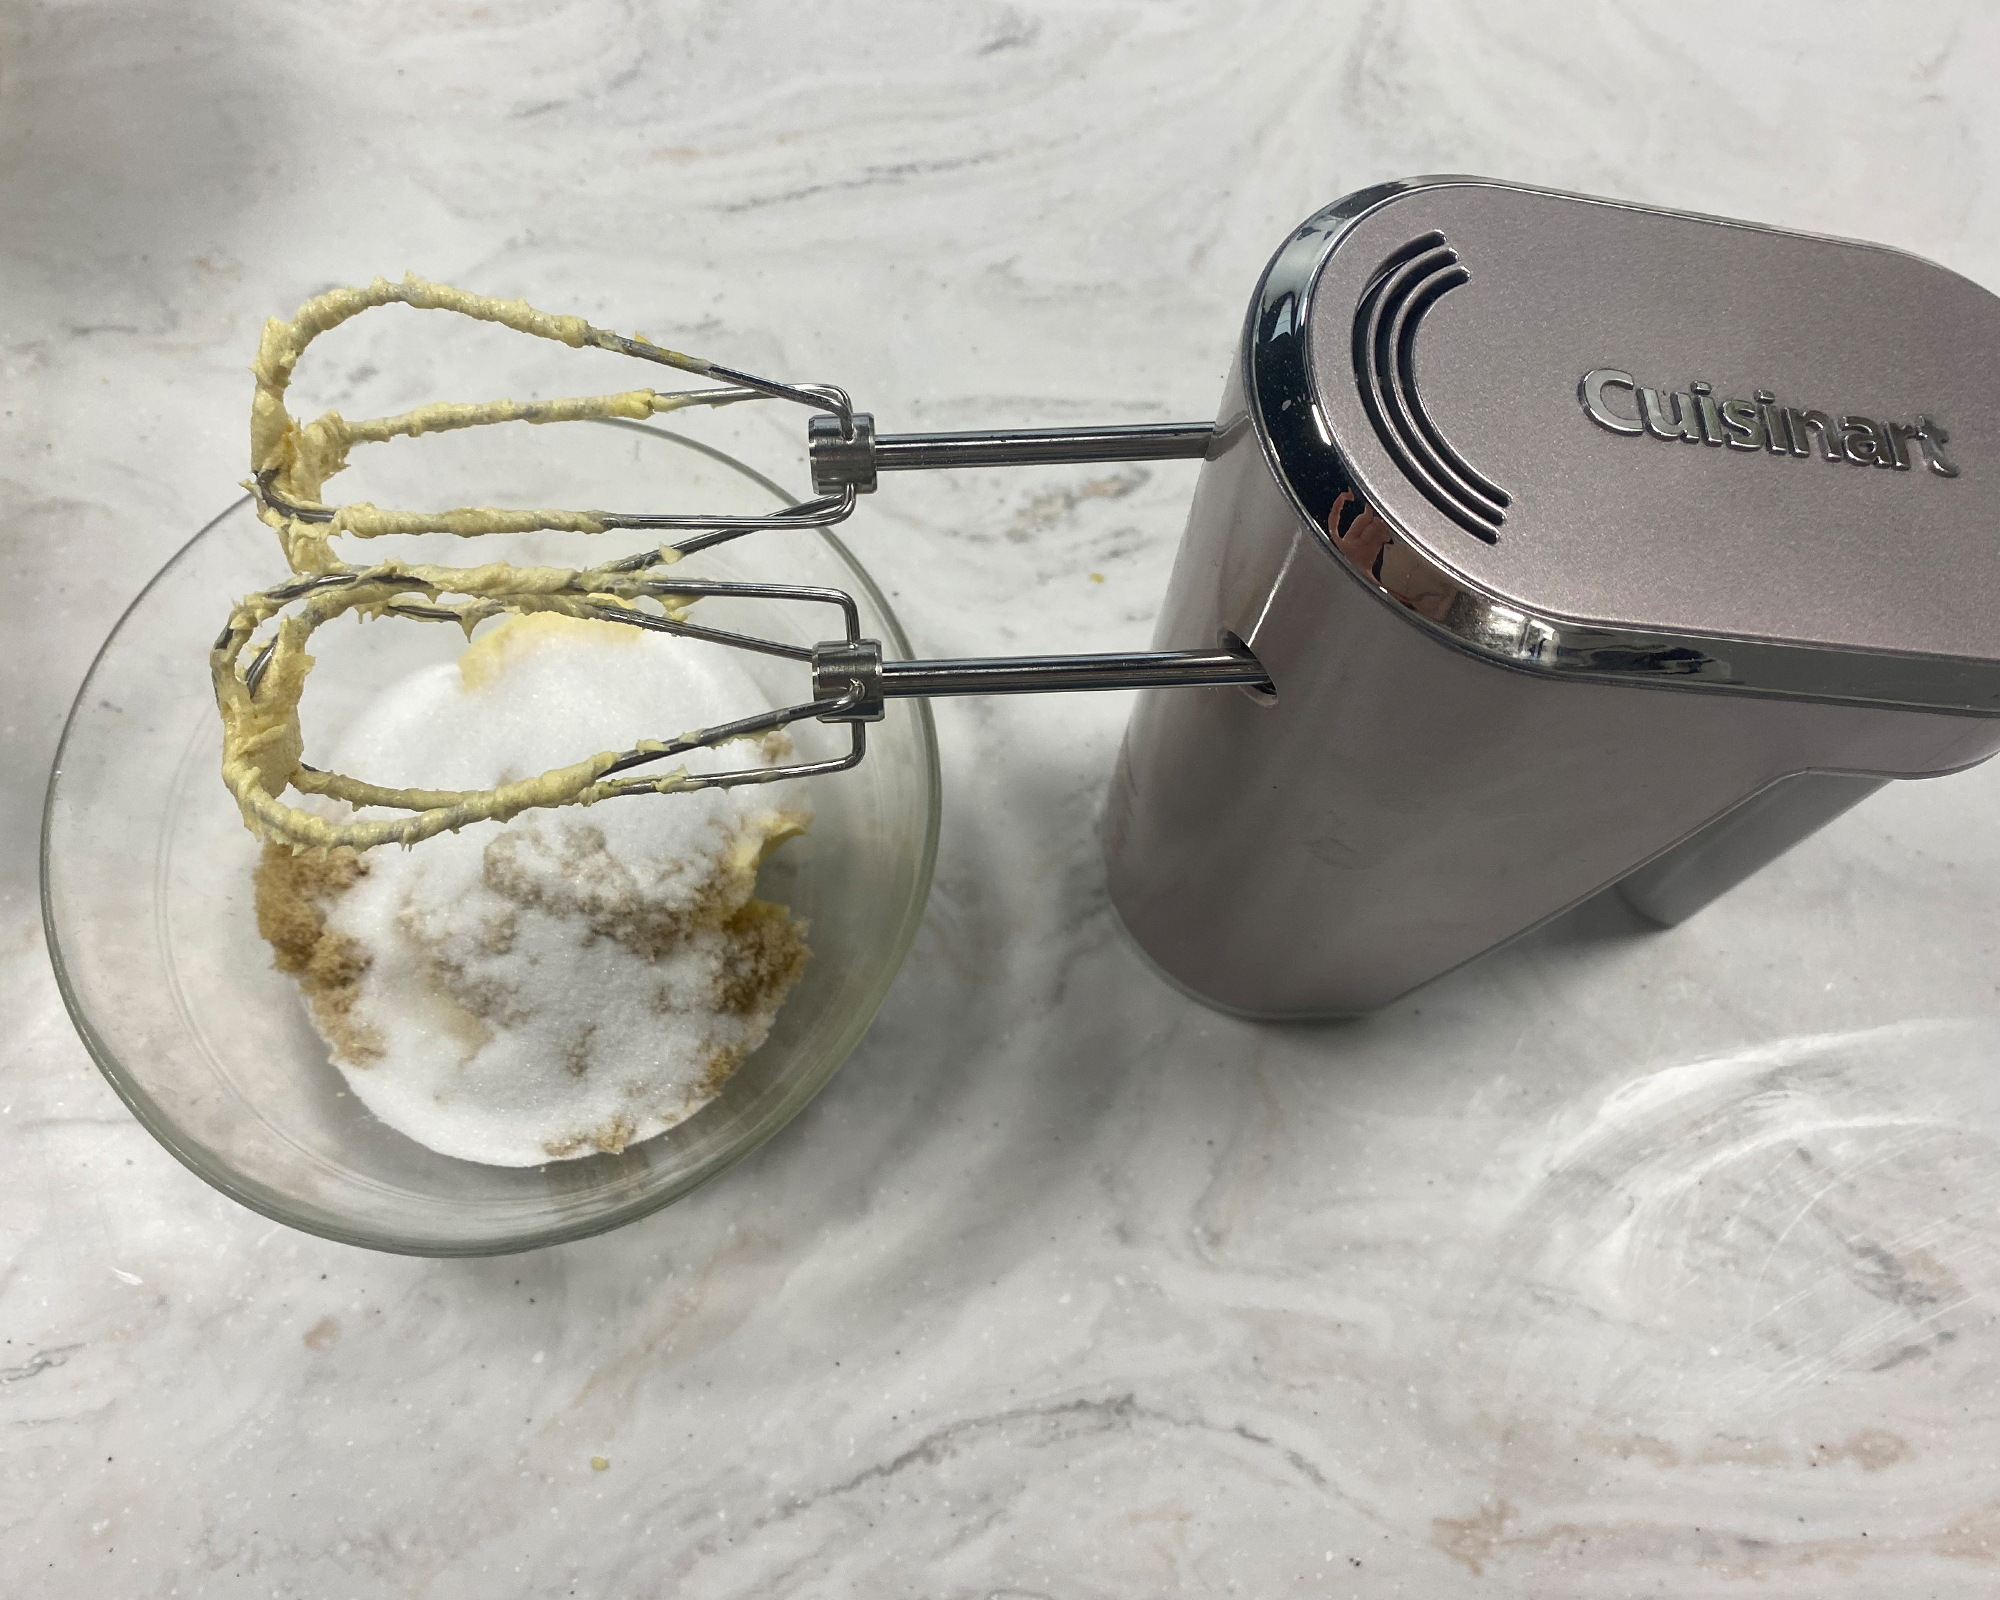
- Attachments (The Business End): Most mixers come with a standard pair of twisted wire beaters, perfect for general-purpose mixing. Many also include dough hooks for bread or pizza dough, and a balloon whisk for whipping egg whites and cream.
- Corded vs. Cordless: Cordless models offer incredible freedom of movement, but they often have less power and a limited battery life. For a first-time user, a reliable corded model is usually the more practical and powerful choice.
How to Use a Hand Mixer for the First Time: Your Step-by-Step Guide
Alright, it’s go-time! Grab your mixer, a bowl, and some ingredients. We’re going to walk through this together, step by step.
- Read the Manual (No, Really!): I know, I know, it’s boring. But a quick 5-minute skim of your mixer’s manual will tell you about any unique features or safety warnings specific to your model.
- Choose and Insert the Attachments: Before plugging the mixer in, select your attachments. For most cake and cookie recipes, you’ll use the standard beaters. Notice that one beater might have a small collar or flange on its shaft, while the other doesn’t. This is designed to fit into a specific, larger slot on the mixer body. It’s a simple but important mechanism. Push the attachments in until you hear a firm “click.” Give them a gentle tug to make sure they’re secure.
- Prepare Your Bowl: Use a deep, high-sided bowl to minimize splatters. A plastic or metal bowl is often better than glass, as the beaters are less likely to scratch it. Place your ingredients inside.
- The Golden Rule: Start Low and Slow: Plug the mixer into the wall. Submerge the beaters into the ingredients before you turn the mixer on. I can’t stress this enough. Then, turn the mixer to the lowest possible speed. This will gently combine your ingredients without sending a cloud of powdered sugar into the air.
- Master the Mixing Motion: Don’t just hold the mixer in one spot. Move it around the bowl in a slow, circular motion, ensuring you cover the bottom and sides. You can also gently move it up and down to help incorporate air, especially when whipping cream or egg whites.
- Ramp Up the Speed: Once the ingredients are loosely combined, you can gradually increase the speed as your recipe directs. Higher speeds are for aerating (like in a meringue) or creaming butter and sugar until light and fluffy.
- Finishing and Ejecting: When you’re done, turn the speed dial back to “0” or “Off” before lifting the beaters out of the bowl. Unplug the mixer from the wall. Now, you can press the eject button. The beaters will pop right out, ready for cleaning. Never try to pull them out without using the eject button.
“For a beginner, the single most important technique is to start with the beaters already in the bowl and on the lowest speed. It’s the difference between a clean kitchen and a flour-dusted disaster. It sounds simple, but it’s a lesson every baker learns, one way or another.” – Chef Marco Bianchi, Pastry Expert
Pro Tips to Mix Like a Pro
You’ve got the basics down. Now let’s add some finesse to your technique.
- Temperature Matters: For the fluffiest cakes, make sure your butter and eggs are at room temperature. A hand mixer can’t fully overcome the challenge of cold, hard butter.
- Scrape Down the Bowl: Periodically, stop the mixer and use a silicone spatula to scrape down the sides and bottom of the bowl. This ensures everything is evenly incorporated and you don’t end up with pockets of unmixed flour.
- Don’t Overmix: This is especially important for things like muffin batter or pancakes. Once the dry ingredients are just combined, stop. Overmixing develops gluten and can make your baked goods tough.
- Keep the Cord Out of the Way: Be mindful of where your cord is. Drape it over your shoulder or away from the bowl to prevent it from getting tangled or dipping into your batter.
Hand Mixer vs. Stand Mixer vs. Whisk: What’s the Difference?
Understanding where your hand mixer fits into the kitchen hierarchy can help you decide which tool is right for the job.
| Feature | Hand Mixer | Stand Mixer | Hand Whisk |
|---|---|---|---|
| Best For | Quick jobs: cake batter, cookies, whipped cream, frosting. | Heavy-duty jobs: bread dough, large batches, stiff cookie dough. | Small jobs: whisking a few eggs, emulsifying vinaigrette. |
| Power | Moderate | High | Human-powered |
| Convenience | Very high; easy to store and clean. | Lower; bulky and heavy. | High; very easy to store and clean. |
| Cost | $ | $$$ | ¢ |
| Hands-Free? | No | Yes | No |
Essentially, a hand mixer is the perfect, versatile middle ground for the everyday home baker. It’s more powerful and efficient than a whisk but more convenient and affordable than a stand mixer.
How Do I Clean and Store My Hand Mixer?
Proper care will ensure your mixer lasts for years. It’s incredibly simple.
- Always Unplug First: This is a non-negotiable safety step.
- Eject the Attachments: Press the eject button and place the attachments in the sink. Most beaters and dough hooks are dishwasher safe (check your manual!), but they also clean up easily with a bit of warm, soapy water.
- Wipe Down the Body: Use a damp cloth to wipe down the mixer’s main body. Never, ever submerge the motor housing in water. If any batter has gotten into the ventilation slots, use a toothpick or a dry brush to gently clean it out.
- Store It Smart: Let everything dry completely. Many modern hand mixers come with a snap-on storage case to keep the attachments and cord neatly organized. If yours doesn’t, simply wrap the cord loosely around the unit and store the beaters in a drawer nearby.
Frequently Asked Questions (FAQ)
Q1: Can I use a hand mixer for bread dough?
A: You can, but only if your mixer comes with dough hooks and has a powerful motor. Use it for the initial mixing stages. For heavy-duty kneading, a stand mixer or your own two hands are better options, as you can easily burn out a hand mixer’s motor on stiff dough.
Q2: What do the different attachments do?
A: Standard beaters are for general mixing, creaming, and batters. Dough hooks are C-shaped and used for kneading yeast doughs. A balloon whisk has thinner tines and is designed to incorporate a lot of air, making it perfect for whipped cream and meringues.
Q3: My hand mixer is getting hot. Is that normal?
A: It’s normal for the mixer to get slightly warm during prolonged use, especially when working with thick batters. However, if it becomes uncomfortably hot to the touch or you smell a burning odor, turn it off immediately, unplug it, and let it cool down completely. This could be a sign you’re overworking the motor.
Q4: What’s the best kind of bowl to use with a hand mixer?
A: A deep, high-sided bowl is your best bet to prevent splatters. Stainless steel and plastic bowls are great because they are lightweight and won’t be scratched by the beaters.
Q5: Why won’t my beaters click into place?
A: First, ensure the mixer is unplugged. Then, check if your beaters are designed for specific slots (one with a collar, one without). Try swapping them. If they still don’t click in, there may be some dried batter obstructing the hole, or a potential issue with the mixer itself.
Your Baking Journey Begins Now
Congratulations! You are now fully equipped with the knowledge of how to use a hand mixer for the first time. It’s not just a tool; it’s your ticket to easier, faster, and more creative baking. From whipping up a batch of last-minute birthday cupcakes to perfecting your signature chocolate chip cookie recipe, this versatile appliance will be there for you. So go ahead, plug it in, start slow, and embrace the hum of your new favorite kitchen gadget.
We’d love to hear about your first baking adventure with your hand mixer! Share your successes (and even your funny mishaps) in the comments below.
