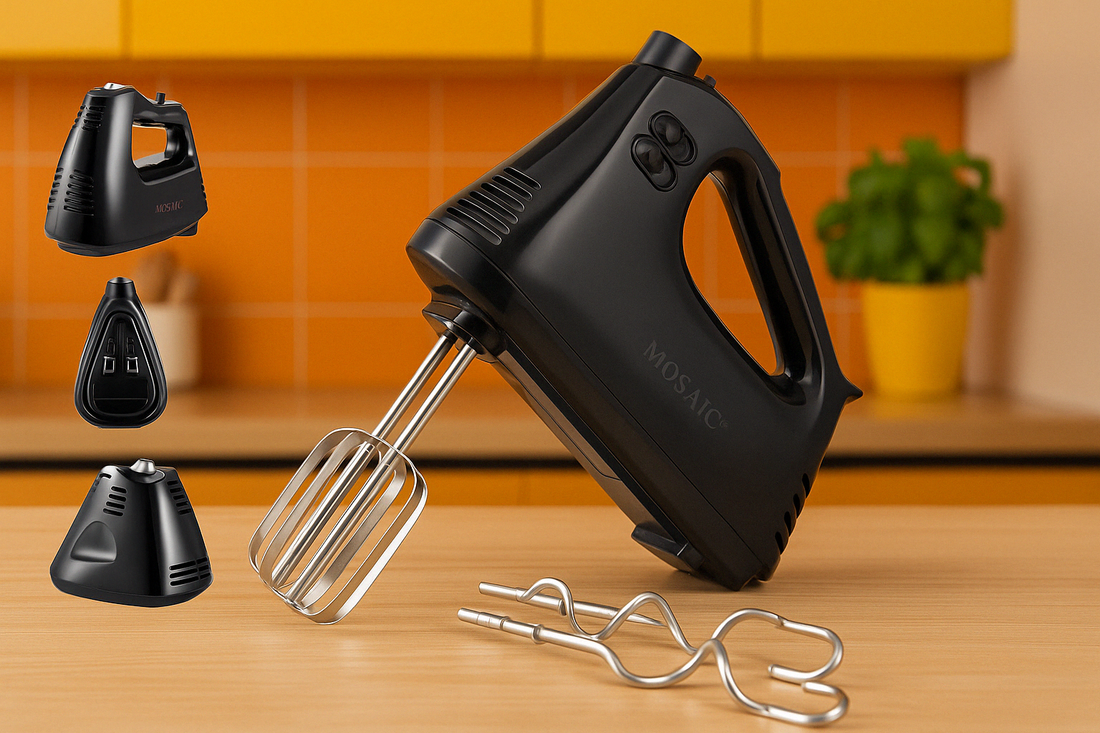
It’s a moment every home baker dreads. You’ve just whipped up a perfect meringue or a silky-smooth cake batter. You go to release the beaters for a quick cleanup, press the eject button, and… nothing. A gentle tug? Still nothing. That’s when a tiny bit of panic sets in. Figuring out How To Remove Stuck Beaters can turn a joyful baking session into a frustrating puzzle. But don’t worry, we’ve all been there. It’s one of the most common hiccups with this trusty kitchen gadget, and the solution is usually much simpler than you think. This guide will walk you through why it happens, the safest ways to free those stubborn attachments, and how to prevent it from ever happening again.
Why Do Hand Mixer Beaters Get Stuck in the First Place?
Understanding the root cause can help you solve the problem faster. Your beaters aren’t just being difficult for the sake of it! Usually, one of three culprits is to blame for a jammed beater.
The Sticky Situation: Food Residue
This is the number one reason for stuck beaters. Over time, tiny particles of batter, dough, or frosting can work their way into the beater sockets. When this residue dries and hardens, it acts like a powerful glue, cementing the metal beater shaft into the mixer’s housing. This is especially common with sugary mixtures like icing or caramel, which become rock-hard when they dry.
The Corrosive Culprit: Rust and Oxidation
If you’ve ever put your beaters away while they were still slightly damp, you might be dealing with a bit of rust. Even a small amount of corrosion on the beater shaft or inside the socket can create enough friction to prevent the eject mechanism from working smoothly. This is more common in older models or in humid climates.
The Mechanical Mishap: A Faulty Eject Button
Less common, but still possible, is an issue with the mixer’s internal release mechanism. The eject button connects to a small spring-loaded component that pushes the beaters out. If this part is broken, worn out, or misaligned, pressing the button won’t do a thing, no matter how clean the sockets are.
Safety First: The Most Important Step
Before you try any method to release your beaters, you must do one thing. It’s non-negotiable and the most critical step for your safety.
Unplug the hand mixer from the power outlet.
Seriously. Do not skip this step. The last thing you want is for the mixer to accidentally turn on while your fingers are near the beaters. Once the appliance is completely disconnected from power, you can proceed with troubleshooting.
How to Remove Stuck Beaters: A Step-by-Step Guide
Let’s work our way from the simplest solutions to the more involved ones. Start with method one and only move to the next if it doesn’t work. A little patience here goes a long way.
Method 1: The Wiggle and Pull
This is the classic first response. Sometimes, all that’s needed is to break the seal created by dried-on gunk.
- Get a Firm Grip: Hold the body of the mixer securely with one hand.
- Grasp the Beater: With your other hand, get a firm grip on the base of the stuck beater’s shaft, as close to the mixer body as possible.
- Wiggle Gently: Gently wiggle the beater back and forth and in a circular motion. You’re trying to loosen the dried residue without applying too much force.
- Pull and Press: While wiggling, press and hold the eject button and give a firm, steady pull downwards. Avoid yanking, as this could damage the mixer. Often, this gentle persuasion is enough to do the trick.
Method 2: A Little Warmth and Lubrication
If a simple pull doesn’t work, it’s time to dissolve the “glue.” Heat and a food-safe lubricant are your best friends here.
- Apply Warmth: Hold the mixer upside down so the beater sockets are facing the ceiling. Fill a small bowl with warm (not boiling) water. Dip a cloth or paper towel in the water and carefully dab it around the base of the stuck beater, right where it enters the mixer. Let the warmth and moisture penetrate for a few minutes to soften any hardened sugar or batter.
- Add a Food-Safe Lubricant: If warmth alone isn’t enough, add a drop or two of cooking oil (like vegetable or olive oil) or cooking spray around the beater shaft.
- Let it Sit: Give the oil a few minutes to seep down into the socket and work its magic.
- Try Again: Repeat the wiggle and pull technique from Method 1. The combination of softened residue and lubrication should allow the beater to slide out.
Expert Tip: As Pastry Chef Julian Carter often says, “Patience is an ingredient. When dealing with a stubborn kitchen tool, don’t force it. A little warm water and five minutes of waiting can save you from breaking your favorite mixer.”
Method 3: When the Eject Button is the Problem
If you suspect the button itself is stuck, you can address it directly. Sometimes food residue can jam the button, preventing it from engaging the release mechanism properly.
- Inspect the Button: Look for any visible gunk or stickiness around the edges of the eject button.
- Clean the Area: Use a damp Q-tip or a toothpick to carefully clean around the button.
- Work the Button: Press the button multiple times to try and dislodge any internal debris. You might feel it start to loosen up.
- Combine with Other Methods: Once the button feels like it’s moving more freely, try the wiggle and pull method again.
Prevention is Better Than a Cure: Stop Beaters From Sticking Again
Once you’ve successfully learned how to remove stuck beaters, you’ll want to make sure you never have to do it again. A few simple habits can keep your hand mixer in perfect working order.
- Clean Immediately: As soon as you’re done mixing, eject the beaters and wash them. Don’t let the batter dry on them or on the mixer body.
- Dry Thoroughly: This is crucial for preventing rust. After washing the beaters, dry them completely with a towel before storing them. Pay special attention to the top of the shaft.
- Clean the Sockets: Periodically, turn your unplugged mixer upside down and use a dry Q-tip or a can of compressed air to clean out any flour or dust from the beater sockets.
- Store Properly: Keep your mixer and its attachments in a dry place, like a cupboard or drawer, away from the steam of the stove or sink.
For those just starting their baking journey, choosing the right hand mixer can make all the difference. When you’re ready to upgrade, consider models with stainless steel beaters and well-sealed bodies, which are less prone to these issues. Our comprehensive guide can help you find the perfect partner for your kitchen adventures.
Frequently Asked Questions (FAQ)
Why does only one of my hand mixer beaters get stuck?
Hand mixers have two distinct sockets, and often one beater (usually the one with the “collar” or plastic ring on its shaft) fits into a specific socket. This socket might accumulate more gunk or be designed differently, making it more prone to sticking than the other.
Can I use WD-40 or another household lubricant to remove stuck beaters?
No, you should never use non-food-safe lubricants like WD-40 on a kitchen appliance. These chemicals are not safe for consumption and can contaminate your food. Stick to cooking oil or food-grade silicone spray.
My eject button feels mushy or doesn’t click. What does that mean?
This likely indicates a mechanical problem with the internal spring or release mechanism. If the beaters are out and the button still feels wrong, it’s a sign that your mixer may need professional repair or replacement.
Is it safe to submerge the front of the hand mixer in water to loosen the beaters?
Absolutely not. The body of the hand mixer contains the motor and electrical components. Submerging it in water will permanently damage the appliance and create a serious electrical hazard. Only apply water carefully with a cloth or Q-tip.
What should I do if none of these methods work?
If you’ve tried all the steps above and the beaters are still firmly stuck, it’s time to stop. Applying excessive force can break the internal housing. At this point, the issue is likely a significant mechanical failure. You can either contact the manufacturer’s customer service for repair options or consider that it might be time to invest in a new hand mixer.
A Happy Ending for Your Hand Mixer
That feeling of relief when the stuck beater finally pops free is second to none. While it can be an incredibly annoying problem, knowing how to remove stuck beaters safely and effectively is a valuable skill for any home cook. By following these simple steps and adopting good cleaning habits, you can ensure your trusty hand mixer is always ready for your next culinary creation, keeping your time in the kitchen fun, creative, and frustration-free.
