Hey there, fellow baker! Let’s talk about the unsung hero of the kitchen. It’s not the flashy stand mixer that gets all the glory, but its nimble, versatile, and oh-so-handy cousin. Finding the Best Hand Mixer For Baking can honestly be a game-changer, transforming lumpy batter into silky smooth perfection and saving your arm from the agony of endless whisking. Whether you’re whipping up a batch of weekend cookies or tackling a delicate meringue, the right tool makes all the difference. I’ve spent years with these gadgets, and trust me, not all hand mixers are created equal. So, grab a cup of coffee, and let’s dive into everything you need to know to find your perfect baking sidekick.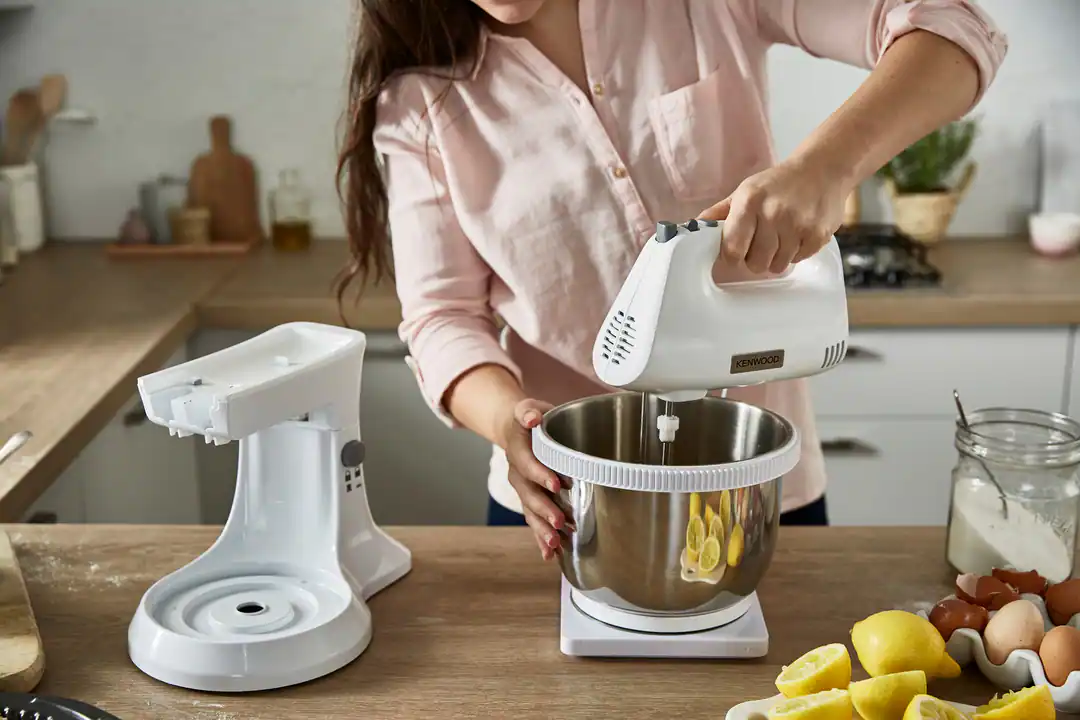
A Quick Spin Through History
Before we get into the nuts and bolts, it’s fun to know where these little powerhouses came from. Believe it or not, the concept dates back to the mid-1800s! The first patents were for manual, hand-cranked egg beaters. It wasn’t until the early 20th century, with the rise of home electricity, that inventors figured out how to stick a motor on one. Since then, they’ve become a staple, evolving from clunky, heavy machines to the sleek, ergonomic models we see today. They represent a perfect blend of convenience and power, a true kitchen revolution in the palm of your hand.
What Should I Look for in the Best Hand Mixer for Baking?
Choosing a hand mixer isn’t just about picking a color you like. The magic is in the details. When you’re standing in the aisle or scrolling online, it can feel a bit overwhelming. Let’s break down the key features that separate a dud from a baking dream machine.
Power and Motor Performance (It’s Not Just About Watts)
You’ll see wattage advertised everywhere, but here’s a little insider secret: a higher wattage doesn’t always mean a better mixer. A well-designed 250-watt mixer with an efficient motor can easily outperform a poorly made 400-watt one.
- Motor Type: Look for models with a DC motor if you can. They are generally quieter, more energy-efficient, and provide better torque at lower speeds, which is crucial for starting a mix without flinging flour all over your kitchen.
- Torque: This is the rotational force. A mixer with good torque can handle thicker doughs, like for cookies or even some breads, without the motor straining or overheating. It’s the difference between a mixer that plows through cookie dough and one that just stalls.
Speed Settings: More Than Just Fast and Slow
The number of speeds is important, but the quality of those speeds is what truly matters. The best hand mixer for baking offers a range of distinct, well-calibrated speeds.
- Slow Start Feature: This is non-negotiable for me. A true “low” speed prevents that initial puff of flour or splash of cream. It gently incorporates ingredients before you ramp up the power. Without it, you’ll be cleaning your countertops more than you’ll be baking.
- Range of Speeds: Aim for at least 5 speeds. This gives you the versatility you need: a low speed for folding, a medium speed for creaming butter and sugar, and a high speed for whipping egg whites into stiff, glossy peaks.
“For beginners, a hand mixer with a slow-start feature is a lifesaver. It prevents the classic ‘flour explosion’ and gives you much more control from the very beginning. It’s a small feature that makes a huge difference.” – Pastry Chef Isabelle Dubois
Attachments: The Tools of the Trade
Your hand mixer is only as good as its attachments. Most mixers come with standard beaters, but the really great ones offer more.
- Traditional Beaters: Perfect for general tasks like cake batter, cookie dough, and creaming. Look for sturdy stainless steel beaters without a center post—they’re far easier to clean.
- Whisk Attachment: A single, large balloon whisk is a massive bonus. It’s designed to incorporate more air, making it ideal for whipping cream, egg whites for meringues, and creating light, airy sponges. It’s far more effective than standard beaters for these tasks.
- Dough Hooks: These corkscrew-shaped attachments are for kneading. While a hand mixer won’t replace a stand mixer for heavy-duty bread making, they are fantastic for softer doughs like brioche or pizza dough.
|
Our Picks for the Best Hand Mixer in 2025
As an Amazon Associate, we earn from qualifying purchases.
|
||
| Num | Product | Action |
|---|---|---|
| 1 | Cuisinart HM-90BCS Power Advantage Plus 9-Speed Handheld Mixer with Storage Case, Brushed Chrome |

|
| 2 | bella 3.5 Qt Hand & Stand Mixer, 2 in 1 Electric Mixer with Bowl, Dough Hook, Whisk & Egg Beater, Multifunctional Handheld Blender & Mixer for Baking, 200 Watt, Surf |
|
| 3 | Ninja Hand Mixer, Immersion Blender, Foodi Power Mixer System, 750-Peak-Watt Handheld Emulsion Blender & Electric Hand Mixer Combo With Whisk, Beaters & 3-Cup Blending Vessel,120 volts, Black CI101 |
|
| 4 | Proctor Silex Easy Mix 5-Speed Electric Hand Mixer with Bowl Rest, Compact and Lightweight, 215 Watts of Peak Power, Storage Case, Black (62512) |
|
| 5 | Hand Mixer Electric, 450W Kitchen Mixers with Scale Cup Storage Case, Turbo Boost/Self-Control Speed + 5 Speed + Eject Button + 5 Stainless Steel Accessories, For Easy Whipping Dough,Cream,Cake |
|
| 6 | KitchenAid 5 Ultra Power Speed Hand Mixer - KHM512, Matte Black |
|
| 7 | KitchenAid 9-Speed Digital Hand Mixer with Turbo Beater II Accessories and Pro Whisk - Contour Silver |
|
| 8 | Hand Mixer Electric, 400W Food Mixer 5 Speeds Handheld Blender, 5 Stainless Steel Accessories, Storage Box, Kitchen Blender with Cord for Cream, Cookies, Dishwasher Safe, White |
|
| 9 | Hand Mixer Electric Mixing Bowls Set, 5 Speeds Handheld Mixer with 4 Nesting Stainless Steel Mixing Bowl, Measuring Cups Spoons 200W Kitchen Blender Whisk Beater Baking Supplies For Beginner |
|
| 10 | Hand Mixer Attachments Beater 6Pcs, Whisk, Blending Rod and Dough Hooks, Stainless Steel Hand Mixer Accessories for Kitchenaid Hand Mixers KHM3 KHM5 KHM7 KHM9, Dishwasher Safe |
|
Corded vs. Cordless: The Freedom vs. Power Debate
This is a modern dilemma! The choice really comes down to your personal baking style and kitchen setup.
- Corded Mixers: The classic choice. They provide consistent, unwavering power directly from the outlet. You never have to worry about a battery dying mid-whip. The only downside is being tethered to a wall socket.
- Cordless Mixers: The ultimate in convenience. You can mix anywhere—on the stove, at your island, wherever. They’re great for quick tasks and small kitchens. However, you’ll need to keep them charged, and they may offer slightly less power for super heavy-duty tasks compared to their corded counterparts.
How to Use a Hand Mixer Like a Pro: A Beginner’s Guide
Got your new mixer? Awesome! Let’s avoid some common pitfalls. Using it correctly will give you better results and make the process more enjoyable.
- Choose the Right Bowl: Use a deep bowl with high sides. This is your best defense against splatters and helps keep all your ingredients contained.
- Attach the Beaters: Make sure the mixer is unplugged! Insert the beaters until you hear a solid “click.” Some mixers have a specific socket for each beater, so double-check your manual.
- Start Low and Slow: Place the beaters into the ingredients before you turn the mixer on. Start at the lowest possible speed to gently combine everything. This is that slow-start feature in action!
- Move It Around: Don’t just keep the mixer in one spot. Move it around the bowl in a circular motion, making sure to get the sides and bottom. Tilt the bowl occasionally to ensure everything is being incorporated evenly.
- Ramp Up the Speed: Once the ingredients are combined, you can gradually increase the speed as your recipe requires.
- Cleaning Up: Always unplug the mixer before ejecting the beaters. Most modern beaters are dishwasher-safe, which is a huge win for easy cleanup.
Hand Mixer vs. Stand Mixer vs. Whisk: Which One Do You Need?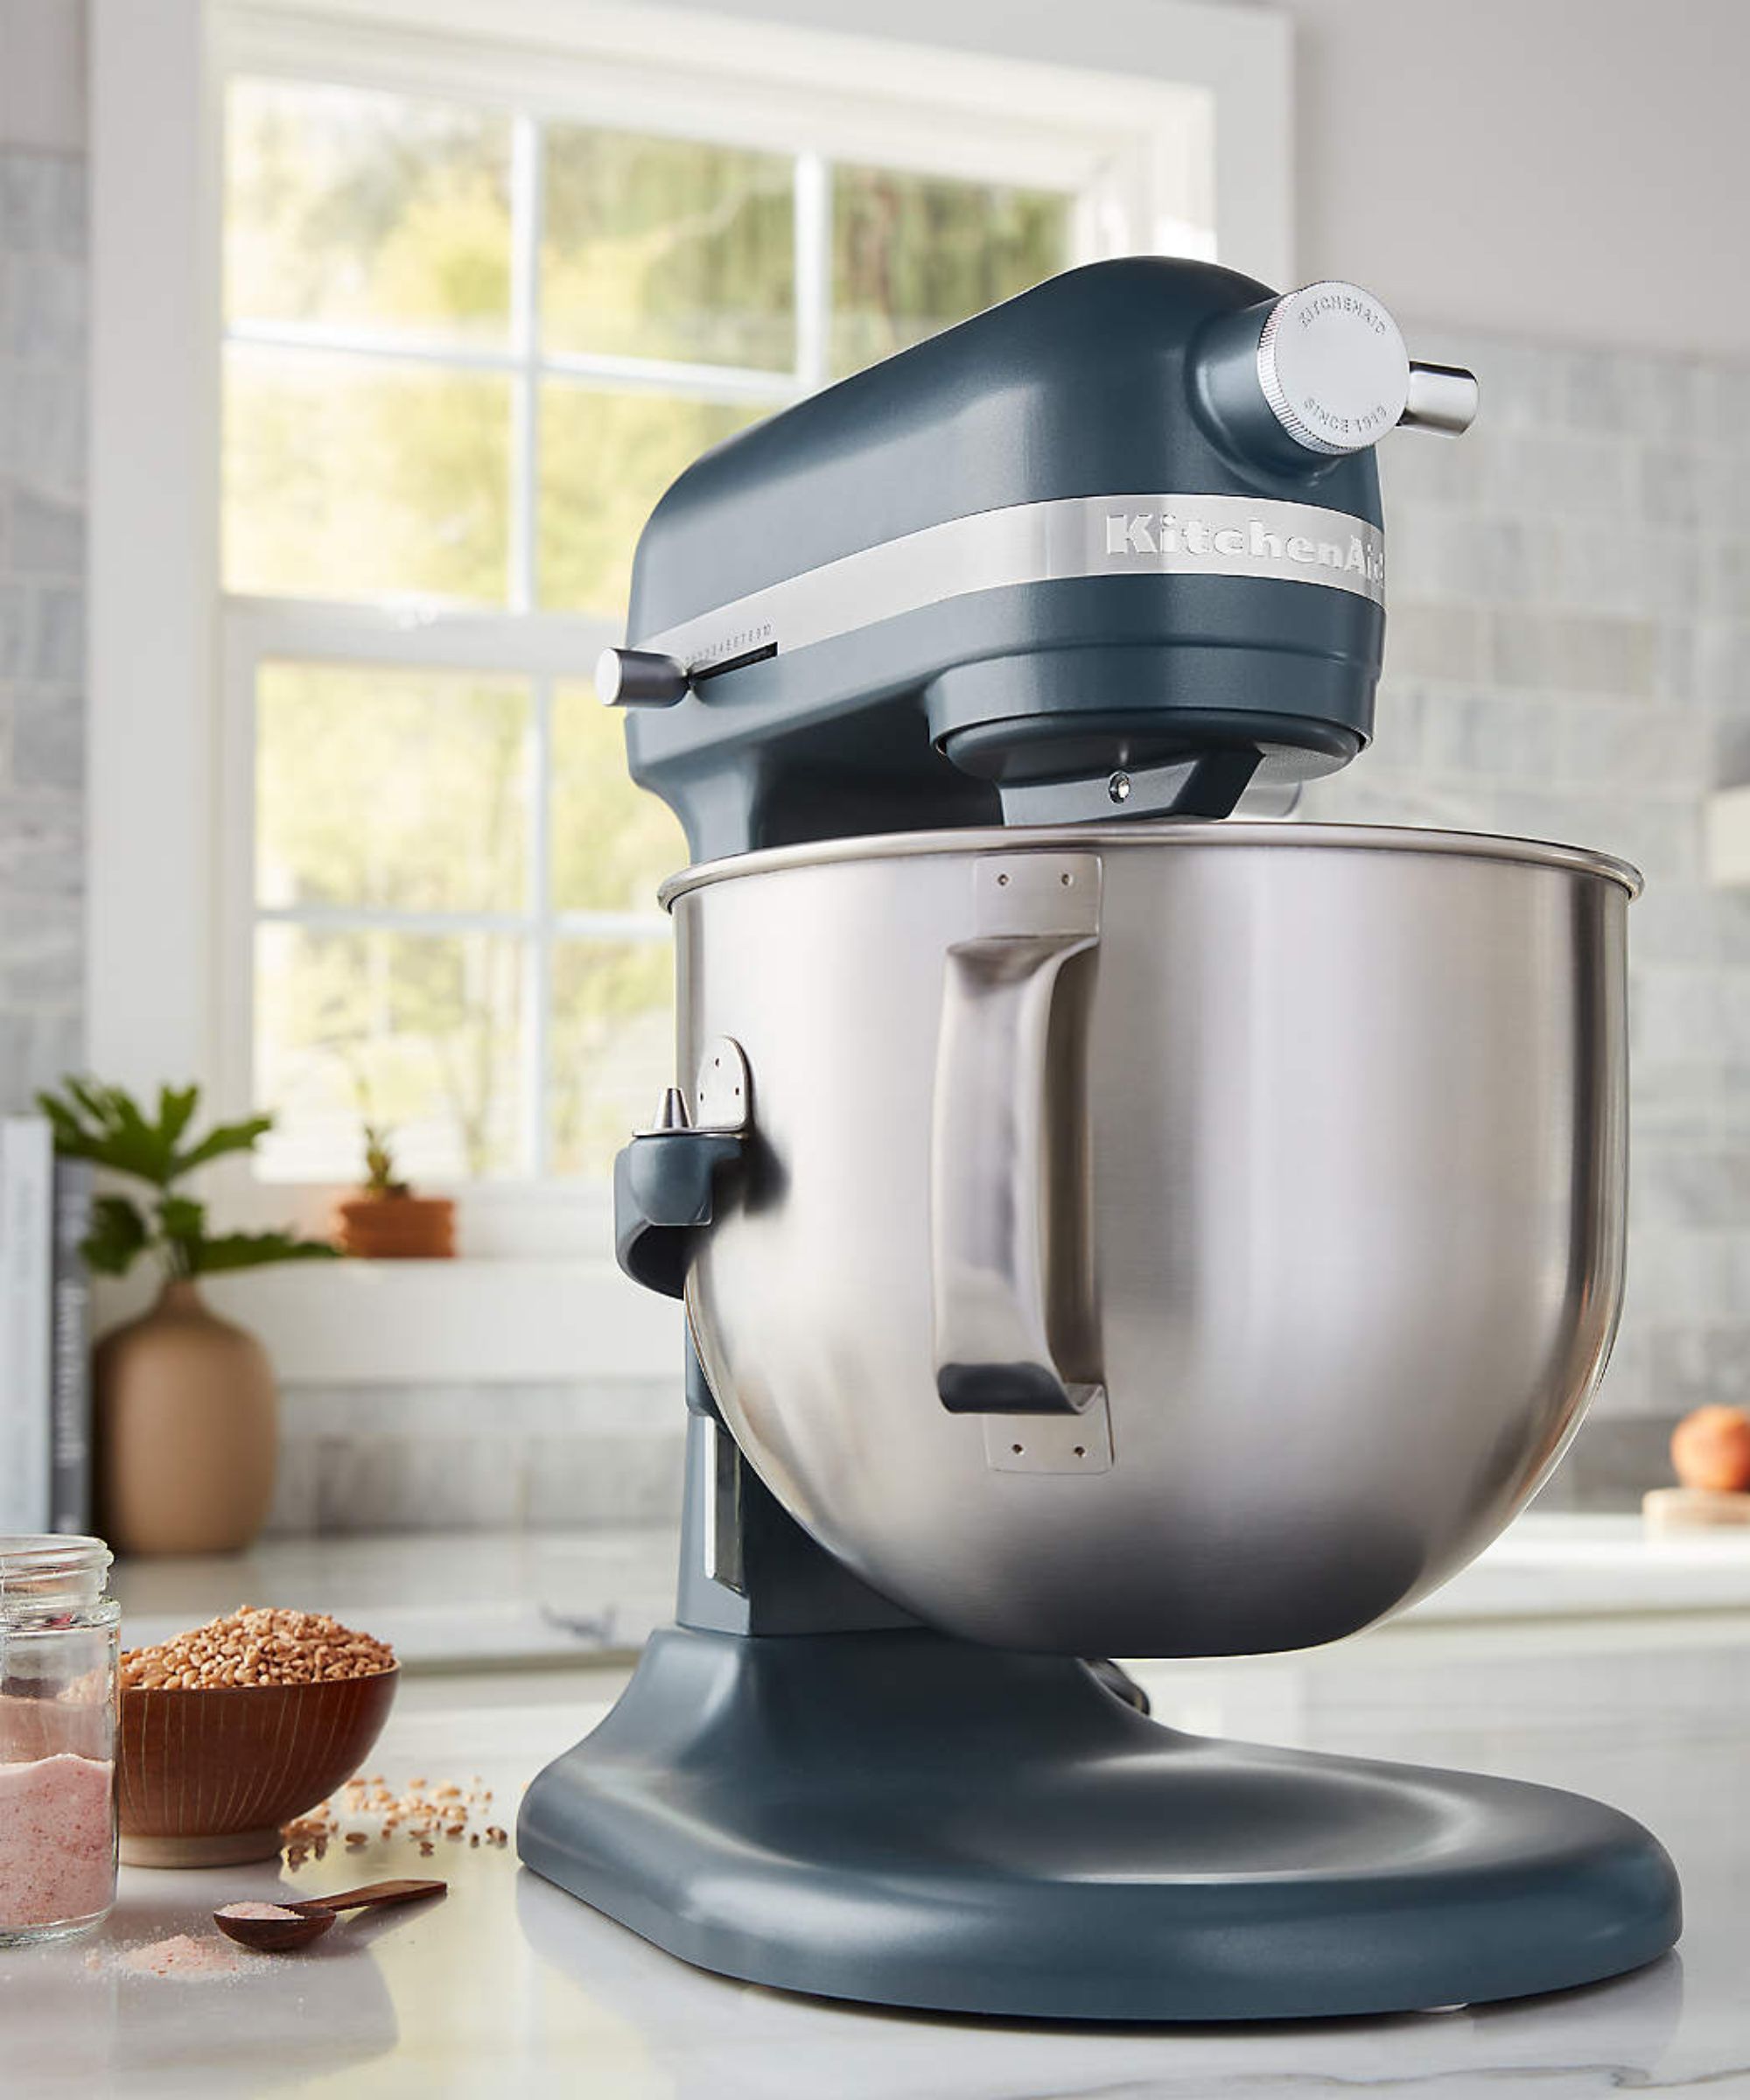
It’s a common question: “Do I really need a hand mixer if I have a stand mixer or a good old-fashioned whisk?” The answer depends on the task at hand.
- Hand Mixer: The versatile all-rounder. It’s perfect for small to medium-sized tasks, quick jobs, and kitchens with limited storage. It gives you more control over the bowl’s position. It’s the best hand mixer for baking tasks like whipping a small amount of cream or making a quick batch of brownies.
- Stand Mixer: The heavy-duty workhorse. For large batches, heavy doughs (like bread), and hands-free mixing, it’s unbeatable. It’s an investment in space and money, but essential for serious, frequent bakers. [Read our guide on stand mixers here].
- Whisk: The manual classic. Great for small, quick tasks like scrambling eggs or making a vinaigrette. It’s a fantastic tool, but for anything that requires sustained whipping or creaming, it’s a serious arm workout and can’t achieve the same level of aeration as a powered mixer.
| Feature | Hand Mixer | Stand Mixer | Whisk |
|---|---|---|---|
| Best For | Everyday baking, quick tasks | Large batches, heavy doughs | Small, simple tasks |
| Cost | Low to Medium | High | Very Low |
| Storage | Compact, easy to store | Bulky, requires counter space | Fits in a drawer |
| Power | Good | Excellent | Human-powered |
| Convenience | High (portable) | High (hands-free) | Medium (requires effort) |
How Do I Clean My Hand Mixer Properly?
Keeping your mixer in tip-top shape is easy. A clean tool is a happy tool!
- Attachments: As mentioned, eject them first! Most stainless steel attachments are top-rack dishwasher safe. If washing by hand, use warm, soapy water and a sponge.
- Mixer Body: Never, ever submerge the main body of the mixer in water. It houses the motor. Simply wipe it down with a damp cloth to remove any splatters. Use a toothpick or a small brush to gently clean out the air vents if they get clogged with flour.
- The Cord: Wipe down the cord with a damp cloth if it gets dirty. Wrap it loosely for storage to avoid damaging the internal wires.
Frequently Asked Questions (FAQ)
Q1: Can I knead bread dough with a hand mixer?
A: Yes, but with a caveat. You can use dough hooks to knead soft, enriched doughs (like cinnamon rolls or brioche) for a short period. For dense, rustic bread doughs, a hand mixer motor will likely strain. It’s best to stick to a stand mixer or your hands for those.
Q2: How many watts is good for a hand mixer?
A: Don’t get too hung up on wattage. A quality mixer from a reputable brand with 220-275 watts and an efficient motor is more than powerful enough for the vast majority of home baking tasks, including thick cookie dough.
Q3: Why are my whipped egg whites not getting stiff?
A: This is usually due to a trace of fat or grease. Ensure your bowl and beaters are impeccably clean. Even a tiny bit of egg yolk or oil can prevent the proteins from forming the stable foam structure needed for stiff peaks.
Q4: Can I use a hand mixer to mash potatoes?
A: Absolutely! A hand mixer is a fantastic tool for making creamy, fluffy mashed potatoes. Just be careful not to over-mix, as this can make them gluey. Use a low to medium speed until they reach your desired consistency.
Q5: What’s the best way to store my hand mixer?
A: Many modern hand mixers come with a snap-on storage case for the attachments and cord. This is ideal as it keeps everything together. If yours doesn’t have one, simply wrap the cord loosely and store the mixer and its attachments together in a drawer or cupboard.
Your Perfect Bake Awaits
At the end of the day, the best hand mixer for baking is the one that fits your needs, your kitchen, and your budget. It’s a small appliance that delivers huge results, bringing consistency, ease, and joy to your baking projects. From airy chiffon cakes to perfectly creamed butter for your signature chocolate chip cookies, the right hand mixer is an indispensable partner. It’s an investment that will pay for itself in delicious dividends for years to come. Now, go find your perfect match and happy baking! We’d love to hear about your baking adventures in the comments below.