Picture this: you’re halfway through creaming butter and sugar for your famous chocolate chip cookies. The kitchen smells divine, and you’re in your happy place. Suddenly, your trusty hand mixer sputters and dies. A quick inspection reveals the culprit—a frayed, damaged power cord. Your heart sinks. Before you toss the whole thing in the bin, the big question pops into your head: Can You Replace A Hand Mixer Cord?
The short answer is yes, you often can. But the more important question is should you? As someone who has spent years with my hands on literally hundreds of these kitchen workhorses, I can tell you it’s a decision that balances safety, cost, and a little bit of DIY spirit. This guide will walk you through everything you need to know, from making the call to repair versus replace, to understanding what makes a great hand mixer in the first place.
The Big Question: To Repair or to Replace?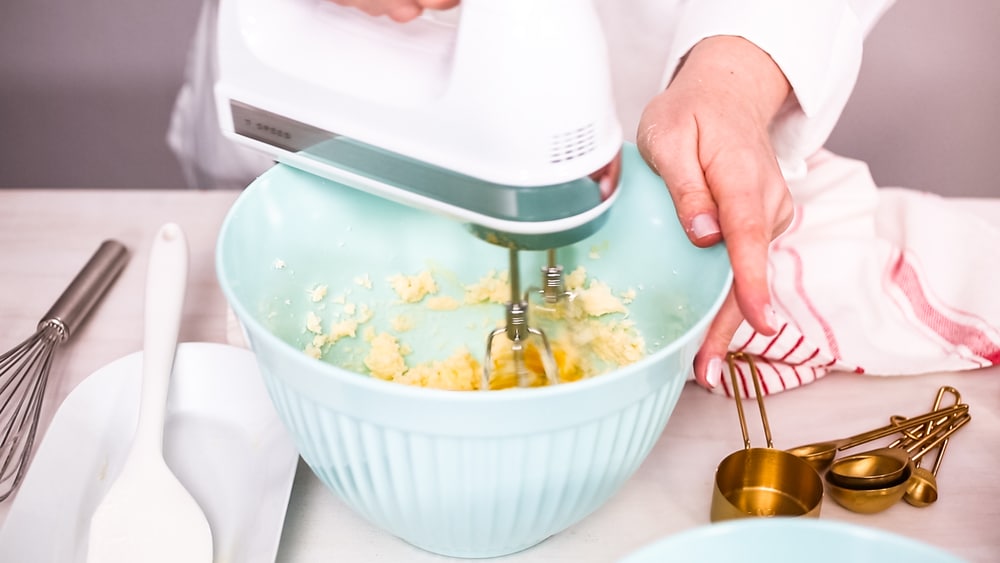
Deciding whether to perform surgery on your appliance or simply get a new one isn’t always straightforward. It’s a classic head-versus-heart debate. Let’s break down the factors to help you make the right choice.
When Repairing Your Hand Mixer Cord Makes Sense
For some mixers, a cord replacement is absolutely worth the effort. It’s the green, and often sentimental, choice. Consider a repair if:
- You Own a High-End or Vintage Model: If you’ve invested in a premium brand like a KitchenAid or a Cuisinart, the build quality is usually excellent. The motor is likely still in fantastic shape, and replacing the cord is a small price to pay to keep a superior machine running. The same goes for those charming, bulletproof vintage mixers from the 60s or 70s. They just don’t make ’em like that anymore!
- It Holds Sentimental Value: Was this the hand mixer your grandmother used to teach you how to bake? Sometimes, an object is more than just an object. If it’s tied to precious memories, a little effort to bring it back to life can be incredibly rewarding.
- You’re a Confident DIY-er: If you’re comfortable with basic electronics, know your way around a soldering iron, and understand the importance of electrical safety (like, really understand it), then this is a manageable weekend project.
When It’s Time to Say Goodbye
On the other hand, sometimes it’s smarter to just let go. Don’t even think about a repair if:
- It’s an Inexpensive, Basic Model: Let’s be real. If your mixer cost less than a fancy dinner, the cost of a new cord and the value of your time will likely exceed the price of a brand-new, and probably better, model.
- The Mixer Has Other Issues: Is the motor making a weird grinding noise? Do the beaters wobble or fall out? Is the plastic casing cracked? A broken cord is often the last straw for a device that’s already on its way out.
- You Have Any Doubts About Safety: This is the big one. An improper electrical repair is a serious fire and shock hazard. If you’re not 100% confident in what you’re doing, the risk is simply not worth the reward.
Expert Takeaway: “Safety is non-negotiable in the kitchen,” says professional pastry chef Maria Flores. “While I admire the spirit of fixing things, a faulty electrical repair can be catastrophic. When in doubt, always consult a professional or invest in a new, certified appliance.”
The DIY Path: A Quick Overview of the Task
So, you’ve decided to press on with the repair. What does it actually involve? While every model is different, the general process for replacing a hand mixer cord looks something like this:
- Safety First, ALWAYS: Unplug the device. This seems obvious, but it’s the most critical step. Work in a dry, well-lit area.
- Gather Your Tools: You’ll typically need a set of screwdrivers (often including security bits for some brands), wire strippers, a new appliance cord of the appropriate gauge, and potentially a soldering iron and heat-shrink tubing for a secure connection.
- Open the Casing: Carefully unscrew the mixer’s housing. Take pictures as you go! This will be your roadmap for putting it all back together correctly.
- Disconnect the Old Cord: Observe how the old cord is connected to the mixer’s switch and motor terminals. It might be screwed in or soldered on.
- Connect the New Cord: Strip the ends of the new cord and connect them in the exact same way the old one was. This is where precision is key. A secure, insulated connection is paramount.
- Reassemble and Test: Carefully put the housing back together, making sure no wires are pinched. Then, plug it in and test it at all speeds.
This is a simplified overview. If you choose this path, please seek out a detailed video tutorial for your specific make and model.
Maybe It’s Time for an Upgrade: What to Look for in a New Hand Mixer
If the DIY route sounds daunting, don’t sweat it. Today’s hand mixers are better and more affordable than ever. If you’re in the market for a new one, you’re not just buying an appliance; you’re investing in smoother frostings, fluffier meringues, and easier weeknight meals. Here’s what truly matters.
Power and Motor: The Engine of Your Baking
Wattage can be a bit misleading, but generally, a mixer in the 200-250 watt range is a sweet spot for most home bakers. More important than raw power is the quality of the motor. Look for models with a “slow-start” or “soft-start” feature. I can’t tell you how many times I’ve ended up in a cloud of powdered sugar because a mixer jumped from zero to a hundred. A slow start gently ramps up the speed, keeping your ingredients in the bowl where they belong.
Speed Settings: It’s All About Control
More speeds aren’t always better, but having a good range is crucial. You want a very low speed for gently folding in flour and a high speed for whipping egg whites into stiff peaks.
- Low Speeds: Essential for combining dry ingredients without a mess.
- Medium Speeds: Perfect for creaming butter and sugar or mixing cake batters.
- High Speeds/Turbo Boost: Your go-to for aerating mixtures like whipped cream and meringues.
Attachments: The Tools of the Trade
A hand mixer is only as good as its attachments. At a minimum, you’ll get two standard beaters. But the best models come with a versatile crew:
- Traditional Beaters: The workhorses for 90% of your tasks. Look for sturdy stainless steel without a clunky center post, which makes them much easier to clean.
- Whisk Attachment: A single, large balloon whisk is a game-changer for whipping cream and egg whites far more efficiently than standard beaters.
- Dough Hooks: If you plan on making occasional small batches of bread or pizza dough, these are a must-have. They save your arms a lot of work.
Find our complete guide to the best hand mixers here.
Hand Mixer vs. Stand Mixer vs. Whisk: Choosing Your Champion
Where does the hand mixer fit in the kitchen arsenal? It’s the versatile middle child, and I mean that in the best way possible.
The Mighty Hand Mixer
Perfect for quick, everyday tasks. It’s lightweight, easy to store, and a breeze to clean. It’s your best friend for whipping up a batch of cookies, mashed potatoes, or a quick whipped cream topping. Its main limitation is that you have to hold it, which can be tiring for longer tasks.
The Powerful Stand Mixer
This is the heavyweight champion for serious bakers. It can knead large batches of heavy bread dough and whip up massive quantities of meringue without breaking a sweat, all while you’re free to do other things. The downside? It’s expensive, heavy, and takes up a ton of counter space.
The Humble Whisk
Never underestimate the power of a simple balloon whisk! For small jobs like whisking a couple of eggs or making a vinaigrette, it’s often faster to just grab a whisk than to set up an electric mixer. It also gives you the most control.
Pro Tips for Getting the Most Out of Your Hand Mixer
Owning a hand mixer is one thing; mastering it is another. Here are a few tips I’ve picked up over the years:
- Temperature is Key: Always use room temperature ingredients (especially butter and eggs) for batters. They’ll combine much more smoothly and create a better texture.
- Pick the Right Bowl: Use a deep, high-sided bowl to contain splatters. Give your beaters enough room to move and do their job.
- Start Low, Go Slow: Always, always begin mixing on the lowest speed to combine ingredients before ramping up.
- Keep it Moving: Don’t just hold the mixer in one spot. Move it around the bowl to ensure everything is evenly incorporated. Tilt the bowl as you go to get all the bits from the bottom and sides.
- Don’t Overmix: This is a classic rookie mistake, especially with pancake and muffin batters. Mix only until the ingredients are just combined. A few lumps are okay! Overmixing develops gluten and leads to tough, chewy results.
Care and Maintenance: A Little Love Goes a Long Way
To avoid another cord catastrophe and keep your mixer running smoothly, proper care is essential.
- Cleaning: Eject and wash your attachments immediately after use. A little soak in warm, soapy water will do the trick. For the mixer body, simply wipe it down with a damp cloth. Never submerge the main unit in water.
- Cord Storage: This is crucial! Don’t wrap the cord tightly around the mixer body. This puts stress on the connection point—the very spot where fraying happens. Loosely coil the cord and secure it with a twist tie or a Velcro strap.
- Storage: Store your mixer and its attachments together in a dry cupboard or drawer where it won’t get knocked around.
Frequently Asked Questions (FAQ)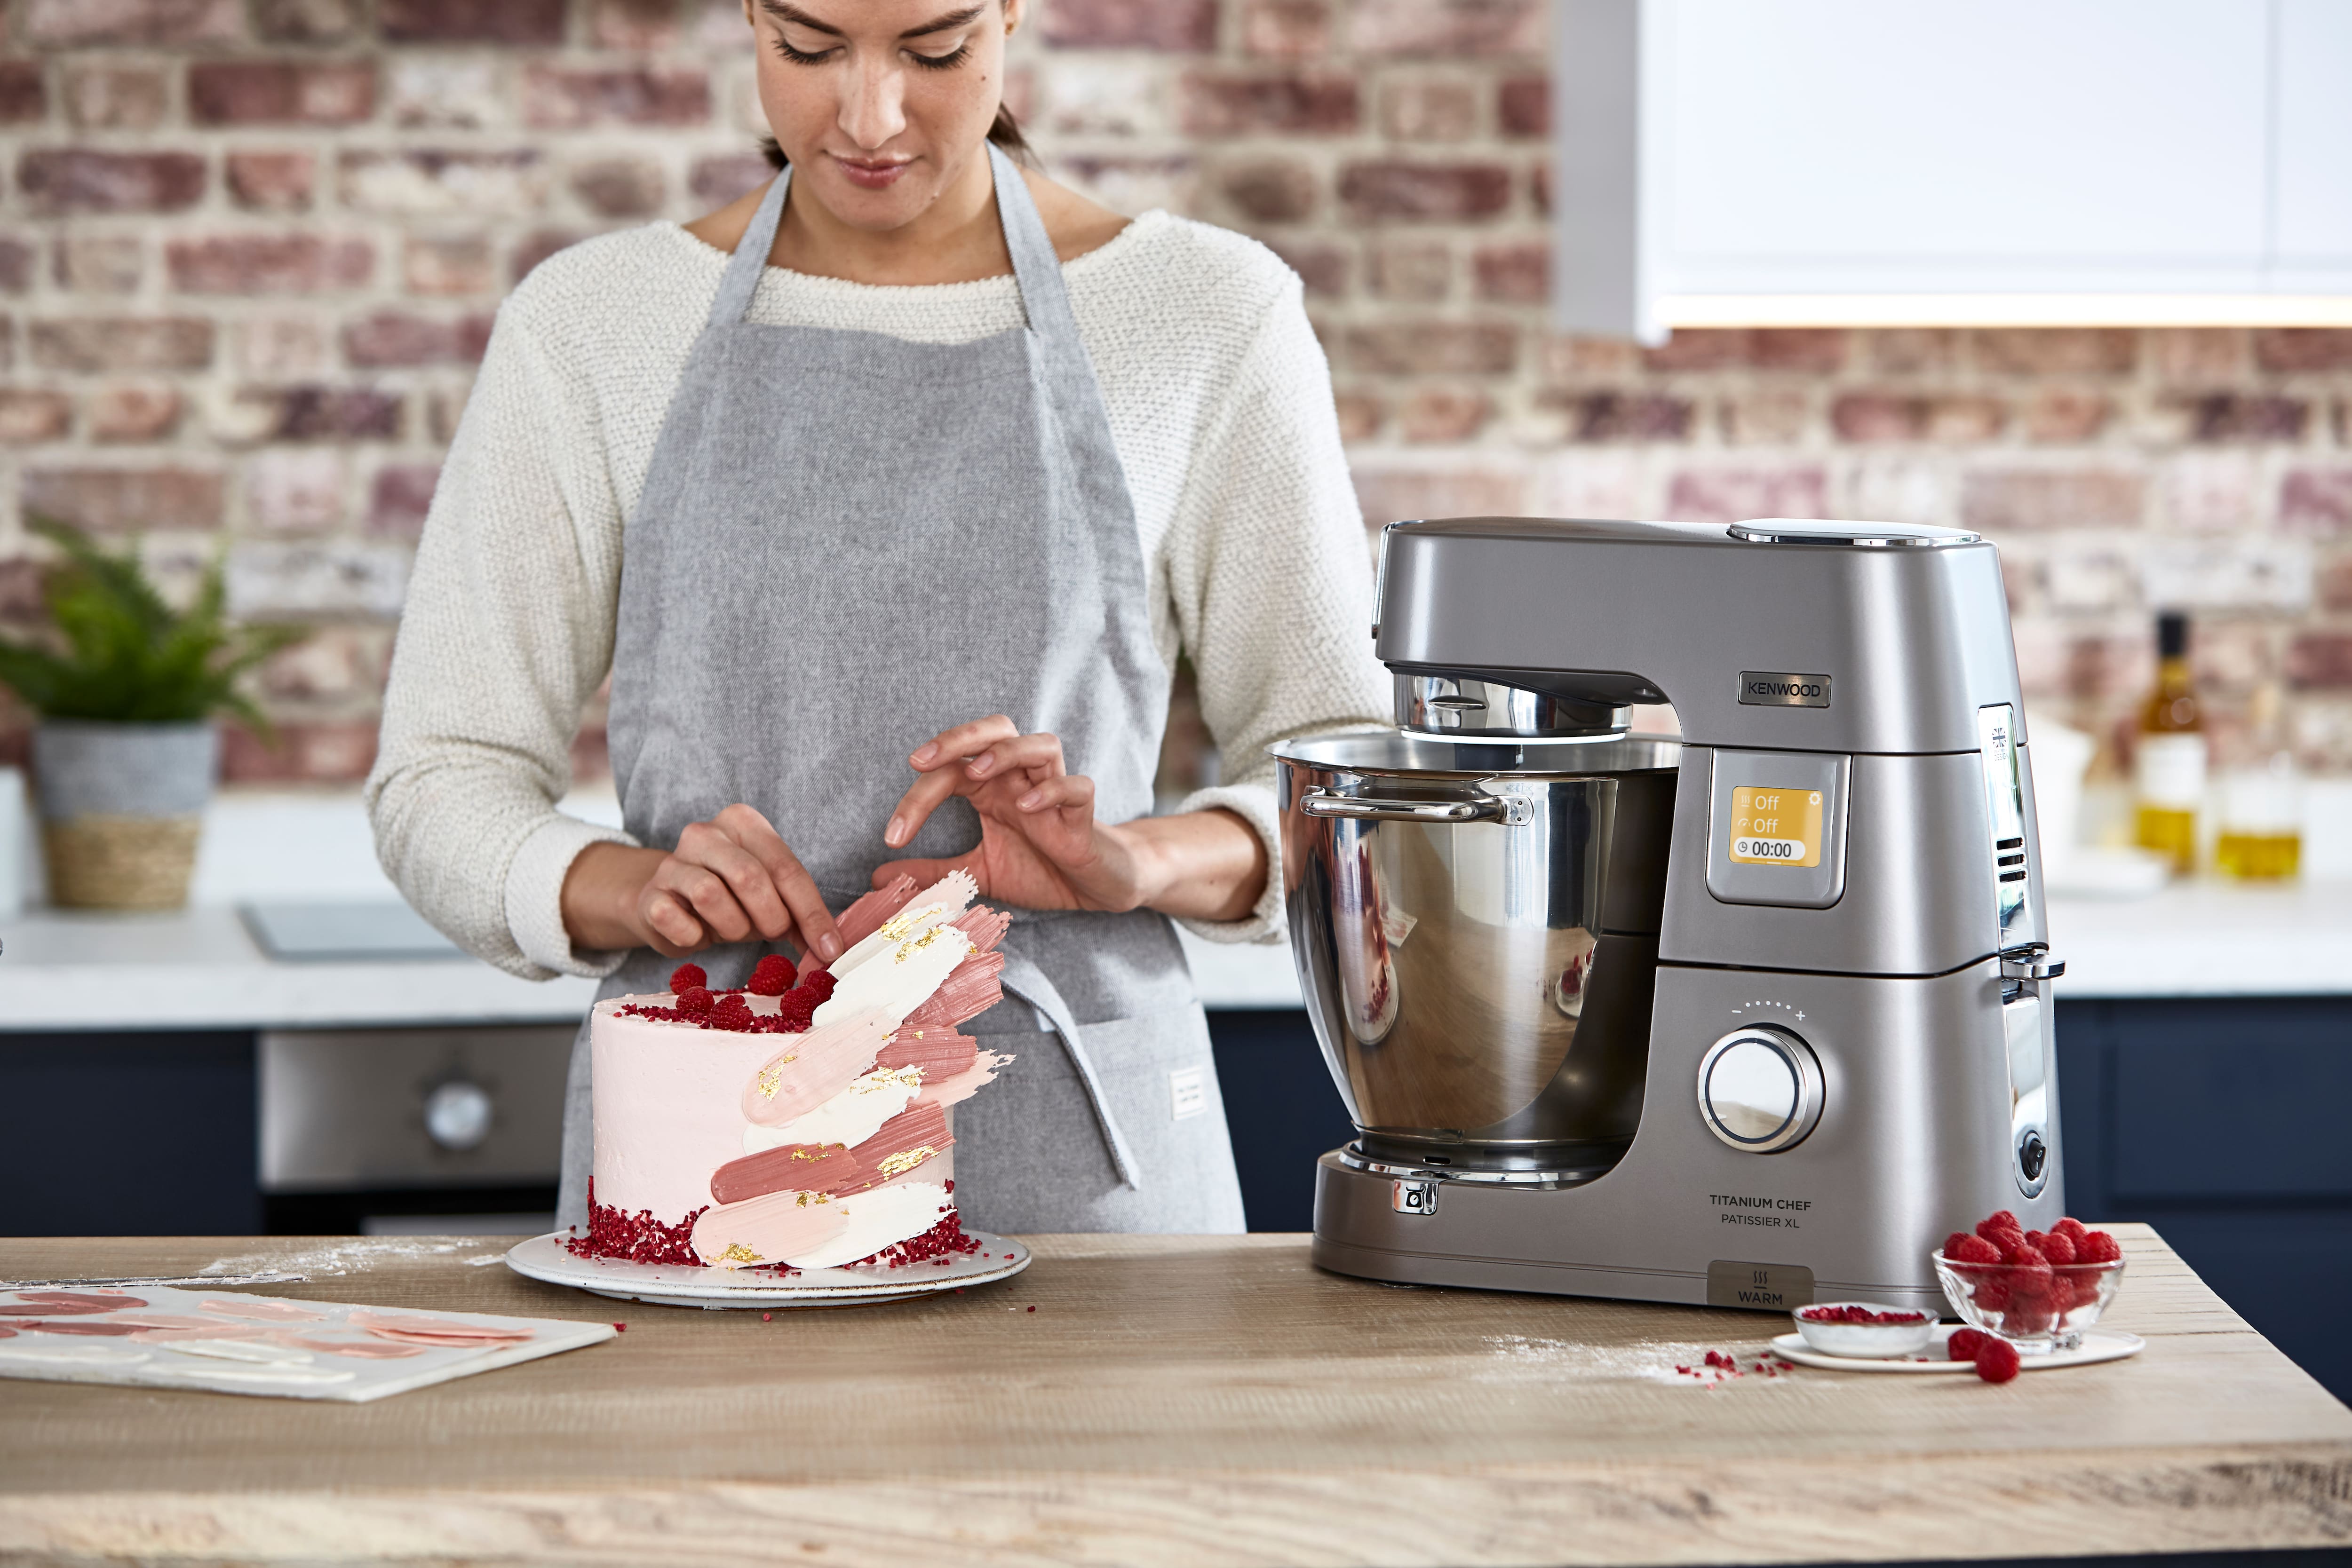
Q: Is it safe to replace a hand mixer cord myself?
A: It is only safe if you have experience with electrical repairs and fully understand the risks. You must ensure you use the correct type of cord and create secure, insulated connections. If you have any hesitation, it is always safer to consult a professional or buy a new mixer.
Q: Can I use my hand mixer to knead bread dough?
A: You can, but only for small, soft doughs and only if your mixer comes with dough hooks. Using a hand mixer for heavy dough can burn out the motor. It’s best for occasional, light-duty kneading.
Q: What’s the ideal wattage for a good hand mixer?
A: Look for a hand mixer with at least 200-250 watts. While higher wattage can indicate a more powerful motor, features like a quality build and a slow-start function are often more important for everyday performance.
Q: How do I stop my ingredients from splattering everywhere?
A: Use a deep mixing bowl, start on the lowest speed setting to combine the ingredients first, and then gradually increase the speed. The “slow-start” feature on many modern mixers is designed specifically to solve this problem.
Q: Why is my hand mixer getting hot and smelling funny?
A: An overheating motor or a burning smell is a serious red flag. Stop using the mixer immediately and unplug it. This usually indicates the motor is strained or failing. It’s almost always a sign that it’s time for a replacement.
The Final Whisk
So, can you replace a hand mixer cord? Absolutely. It can be a satisfying project that saves a beloved appliance from the landfill. But it’s a decision that requires an honest assessment of your skills, the value of your mixer, and your commitment to safety.
Whether you choose to repair your old friend or welcome a new one into your kitchen, a reliable hand mixer is an indispensable tool. It empowers you to create delicious food and wonderful memories, one batch of cookies at a time. Whatever path you choose, bake on! I’d love to hear about your own mixer repair stories or favorite models in the comments below.