Let’s be honest, after a marathon baking session, your kitchen might look like a flour bomb went off. Your trusty hand mixer is caked in batter, and the temptation is real: Can You Submerge A Hand Mixer In Water to give it a quick, easy clean? It seems logical, but before you head to the sink, let me stop you right there. As a kitchen appliance specialist, I can tell you this is one of the most common and costly mistakes a home baker can make.
The short answer is a definitive no. Submerging the main body of your hand mixer in water is a recipe for disaster. While the detachable beaters are a different story, the motorized housing unit is strictly off-limits for a deep dive. This guide will not only explain the shocking truth behind why you can’t do this but also show you the proper way to care for your mixer, ensuring it stays your reliable baking partner for years to come.
Why Submerging a Hand Mixer is a Dangerous Idea
So, what’s the big deal? It’s just a little water, right? Wrong. Think of your hand mixer’s body like the engine of a car. You wouldn’t hose down an engine while it’s running, and the same principle applies here, even when it’s unplugged.
The main housing of your hand mixer contains all the critical components that make it work:
- The Electric Motor: This is the heart of your mixer. It’s a complex piece of machinery that is absolutely not waterproof. Water can cause short circuits, leading to immediate and irreparable failure.
- Electrical Wiring: A network of wires connects the motor to the power cord and speed controls. Introducing water creates a serious risk of electrical shock next time you plug it in, even if it seems dry.
- Ventilation Slots: See those little slits on the mixer’s body? They aren’t just for show. They are crucial for cooling the motor during use. Submerging the unit allows water to pour directly into these vents, flooding the internal components.
- Internal Gears and Lubricants: The motor’s power is transferred to the beaters through a series of gears, which are often greased. Water can wash away this essential lubricant and cause the metal parts to rust and seize up over time.
In short, getting the main body wet can lead to electrocution, permanent damage to the motor, and rust. It will also almost certainly void your manufacturer’s warranty.
The Safe and Proper Way to Clean Your Hand Mixer
Now that we’ve established the “what not to do,” let’s focus on the right way to get your hand mixer sparkling clean without sending it to an early grave. It’s easier than you think!
- Safety First: Unplug It! This is non-negotiable. Before you even think about cleaning, always disconnect the appliance from the power outlet.
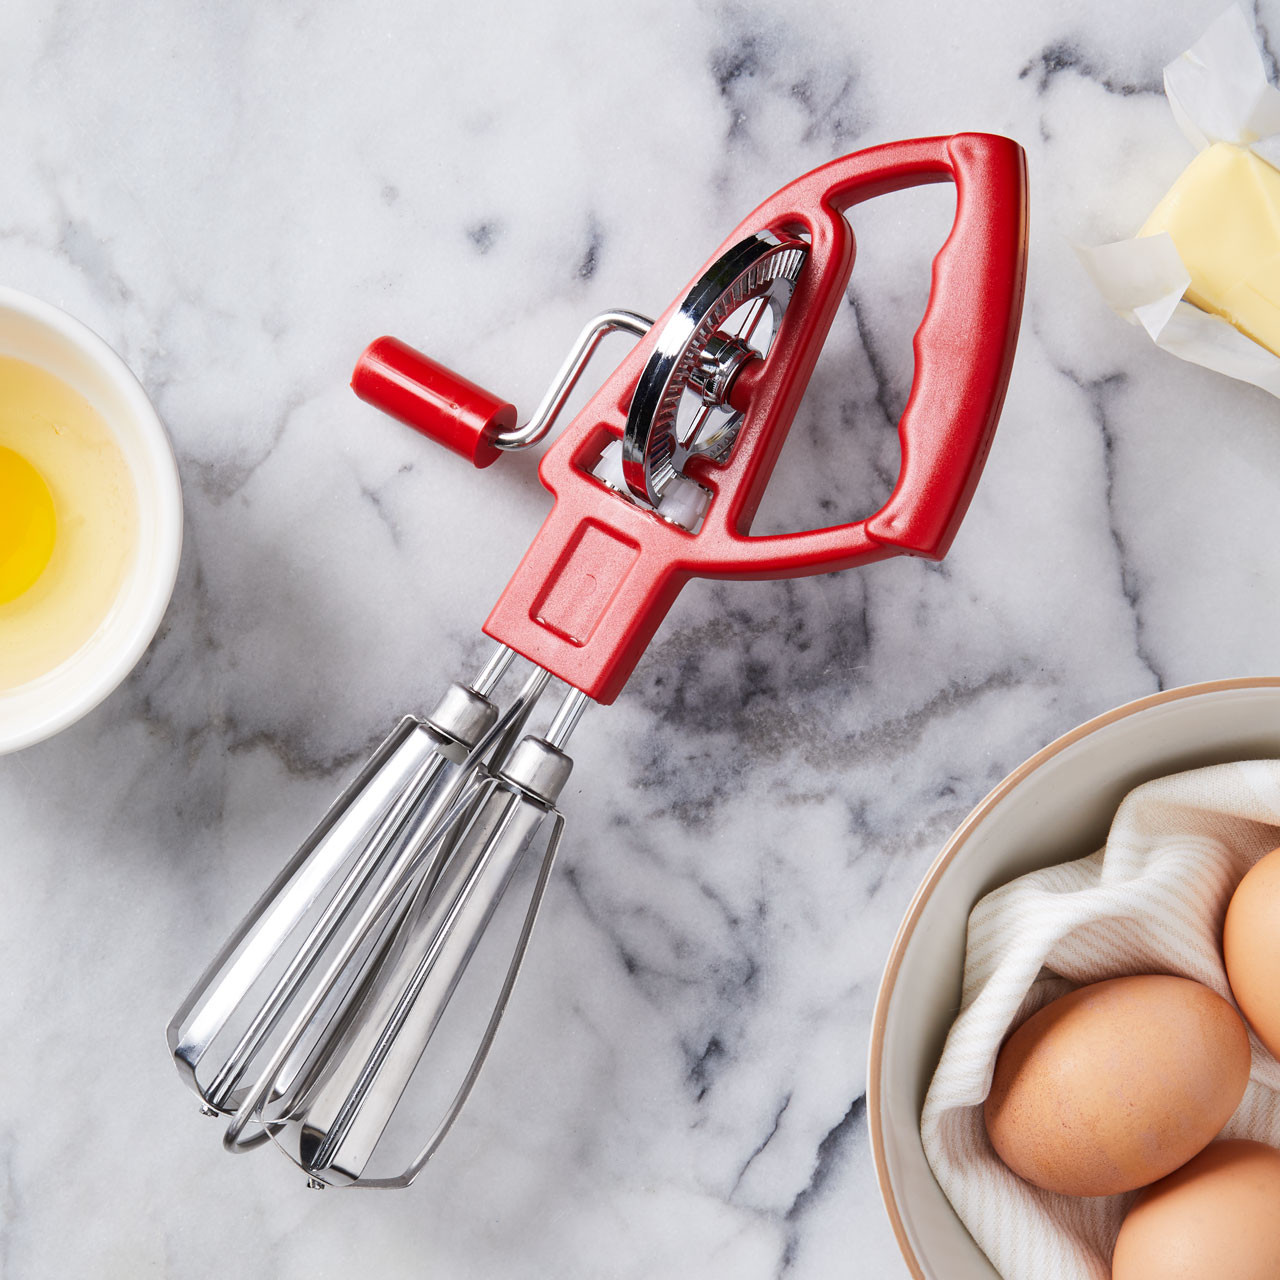
- Eject the Attachments: Press the eject button and remove the beaters, dough hooks, or whisk. These are the parts that get the messiest.
- Clean the Attachments: Here’s the good news! Most attachments are made from stainless steel and are designed to be washed thoroughly. You have two options:
- Dishwasher: Check your user manual, but the vast majority of beaters and dough hooks are top-rack dishwasher safe. This is the easiest method.
- Hand Washing: If you prefer or if your attachments aren’t dishwasher safe, simply wash them in your sink with warm, soapy water just like you would any other utensil. Use a sponge or brush to get into any crevices. Rinse well and dry them completely to prevent water spots or rust.
- Wipe Down the Main Body: This is the crucial part. Take a soft, damp cloth (wrung out so it’s not dripping) and wipe down the plastic or metal housing of the mixer. If you have stubborn, dried-on batter, you can use a small amount of mild dish soap on your cloth.
- Tackle the Vents: Use a dry toothbrush or a small, soft brush to gently clear any flour or dust from the ventilation slots. Never poke anything deep into the vents.
- Clean the Cord: Don’t forget the power cord! It can often get splattered with ingredients. Wipe it down with your damp cloth, making sure to avoid the plug prongs.
- Dry and Store: Ensure every part of the mixer—the body, the cord, and the attachments—is completely dry before storing it. This prevents mildew and protects the internal components from any residual moisture.
Expert Tip: Pastry Chef Eleanor Vance, a consultant for kitchen appliance design, notes, “The biggest mistake beginners make is thinking clean means soaking. For motorized appliances, think ‘detail’ not ‘dunk.’ A damp cloth and a bit of attention is all a quality hand mixer needs to last a decade.”
Beyond Cleaning: Getting the Most Out of Your Hand Mixer
A clean mixer is a happy mixer, but proper care is just one piece of the puzzle. To truly master this versatile tool, you need to understand its features and how to use it effectively.
Choosing the Right Hand Mixer for Your Kitchen
Not all hand mixers are created equal. If you’re in the market for a new one or want to upgrade, here are the key features to consider:
- Power (Wattage): For light tasks like whipping cream or egg whites, 200-250 watts is fine. But if you plan on tackling thicker cookie doughs or bread, look for something with over 300 watts for better performance and motor longevity.
- Speed Settings: Look for a mixer with at least 5 speed settings. A “slow-start” feature is a game-changer, as it prevents ingredients from flying out of the bowl when you first turn it on.
- Attachments: Most mixers come with standard beaters. Premium models might also include dough hooks (for bread), a whisk (for meringues and cream), and sometimes even blending rods.
- Corded vs. Cordless: Cordless models offer incredible freedom of movement but often have less power and a limited run time. Corded models are workhorses, providing consistent power for as long as you need it.
Pro Tips for Using Your Hand Mixer Like a Baker
Once you have the right tool, using it correctly will elevate your baking from good to great.
- Start Low, Go Slow: Always begin mixing on the lowest speed to combine ingredients and then gradually increase the speed as needed.
- Use the Right Bowl: A deep, high-sided bowl is your best friend. It contains splatters and allows the beaters to work efficiently without you having to chase the batter around.
- Angle the Beaters: Don’t just stick the mixer straight down. Angle it slightly and move it around the bowl to ensure everything is evenly incorporated.
- Room Temperature Ingredients: For things like creaming butter and sugar, using room temperature ingredients makes the process smoother and gives you a better final texture.
Hand Mixer vs. Stand Mixer vs. Whisk: When to Use What?
Wondering if you even need a hand mixer? It fills a crucial gap between manual labor and a heavy-duty appliance. Here’s a quick breakdown:
| Tool | Best For | Pros | Cons |
|---|---|---|---|
| Hand Mixer | Quick, medium-sized jobs: cookies, cakes, whipped cream, mashed potatoes. | Lightweight, easy to store, affordable, versatile, easy to clean. | Not hands-free, less powerful for very thick doughs. |
| Stand Mixer | Large batches, heavy doughs (bread, pizza), long mixing times. | Powerful, hands-free operation, many attachment options. | Expensive, heavy, takes up significant counter space. |
| Whisk (Manual) | Small, quick tasks: scrambling a few eggs, making a vinaigrette, light batters. | Inexpensive, no electricity needed, gives you precise control. | Labor-intensive, not practical for large or thick mixtures. |
Ultimately, a quality hand mixer is one of the most valuable and versatile tools for any home cook or baker.
Frequently Asked Questions (FAQ)
Q1: What should I do if I accidentally got water inside my hand mixer?
A: First, do not plug it in under any circumstances. If a small amount of water got in the vents, place the mixer in a dry, well-ventilated area for at least 48-72 hours to allow it to dry out completely. You can also place it in front of a fan. However, there is no guarantee it will work safely again, and it may be best to have it inspected or replaced.
Q2: Can the beaters and dough hooks from my hand mixer go in the dishwasher?
A: In most cases, yes. The majority of modern hand mixer attachments are made from stainless steel and are designed to be top-rack dishwasher safe. However, always consult your appliance’s user manual to be certain.
Q3: How do I clean really stubborn, dried-on batter off my mixer’s body?
A: Make a paste with a little baking soda and water. Apply the paste to the stubborn spot with a soft cloth, let it sit for a few minutes, and then gently wipe it away. Wipe the area again with a clean, damp cloth to remove any residue.
Q4: How often should I clean my hand mixer?
A: You should wipe down the body and thoroughly wash the attachments after every single use. This prevents buildup, staining, and the growth of bacteria, ensuring your appliance is always ready and hygienic for your next baking project.
Q5: Is it safe to buy a used hand mixer?
A: It can be, but exercise caution. Inspect it carefully for any cracks in the housing or fraying in the cord. Ask to test it to ensure the motor runs smoothly and the eject button works. Given the affordability of new models, it’s often safer to buy new to get a warranty and peace of mind.
Your Baking Journey Continues
So, to answer the burning question one last time: can you submerge a hand mixer in water? Absolutely not. By treating the motorized body with care and giving the attachments a proper wash, you protect your investment and ensure your safety in the kitchen.
A hand mixer is more than just an appliance; it’s a gateway to creating delicious memories, from birthday cakes to holiday cookies. By understanding how to use and care for it properly, you empower yourself to tackle any recipe with confidence. Now go forth and bake something amazing! We’d love to hear about your favorite things to make with your hand mixer in the comments below.