So, you’ve just unboxed your shiny new hand mixer, ready to whip up some fluffy mashed potatoes or the perfect meringue. You pull out the mixer, the power cord, and then… these two metal things. The beaters. Let’s be honest, we’ve all had that fleeting moment of uncertainty. You’re wondering, How Do You Attach Beaters so they don’t go flying across the kitchen? You’ve come to the right place. As your dedicated kitchen gadget guru, I’m here to turn that moment of doubt into a “Ha, that was easy!” It’s a simple process, but knowing the right way to do it not only saves you time but also protects your mixer for years of happy baking.
A Quick Spin Through Hand Mixer History
Before we dive in, let’s appreciate the little workhorse in your hands. The hand mixer wasn’t always this sleek, ergonomic device. The concept evolved from larger, crank-operated egg beaters in the late 19th century. It wasn’t until the early 20th century, with the taming of electricity for home use, that companies like Hamilton Beach and Sunbeam introduced the first electric hand mixers. They were heavier, clunkier, but they were revolutionary. They saved countless arms from the tiring task of whisking by hand, and the basic principle—two rotating beaters—has remained the gold standard ever since. The key innovation over the years? Making them lighter, more powerful, and, you guessed it, easier to assemble.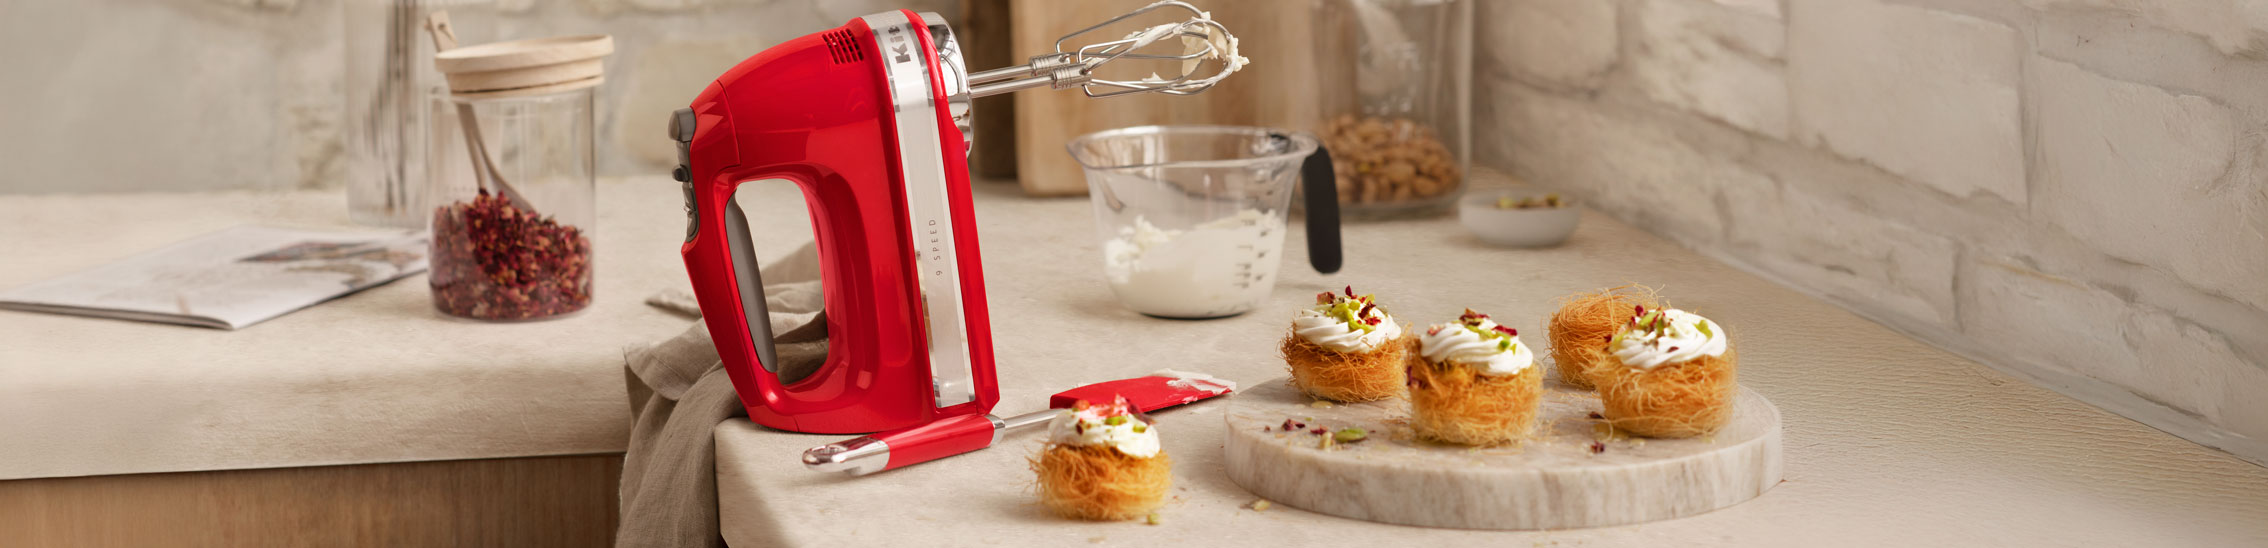
What to Look For in a Great Hand Mixer
If you’re in the market for a new hand mixer or just curious about what makes yours tick, here are the core features that truly matter. Understanding these will help you appreciate why knowing how do you attach beaters correctly is part of getting the most out of your machine.
- Power (Wattage): More watts generally mean more muscle. A mixer with 200-250 watts is great for most tasks, from whipping cream to mixing cake batter. For thicker doughs, you might want something with a bit more oomph.
- Speed Settings: Look for a mixer with at least five speeds, and crucially, a slow start feature. This prevents that dreaded “flour cloud” from erupting all over your countertop.
- Attachments: The standard beaters are fantastic all-rounders. But many models also come with dough hooks (for bread), a whisk (for egg whites), and sometimes even drink blending rods.
- Corded vs. Cordless: Cordless models offer incredible freedom of movement, but you’ll need to keep them charged. Corded models provide consistent power and are often a bit lighter without the battery pack.
|
Our Picks for the Best Hand Mixer in 2025
As an Amazon Associate, we earn from qualifying purchases.
|
||
| Num | Product | Action |
|---|---|---|
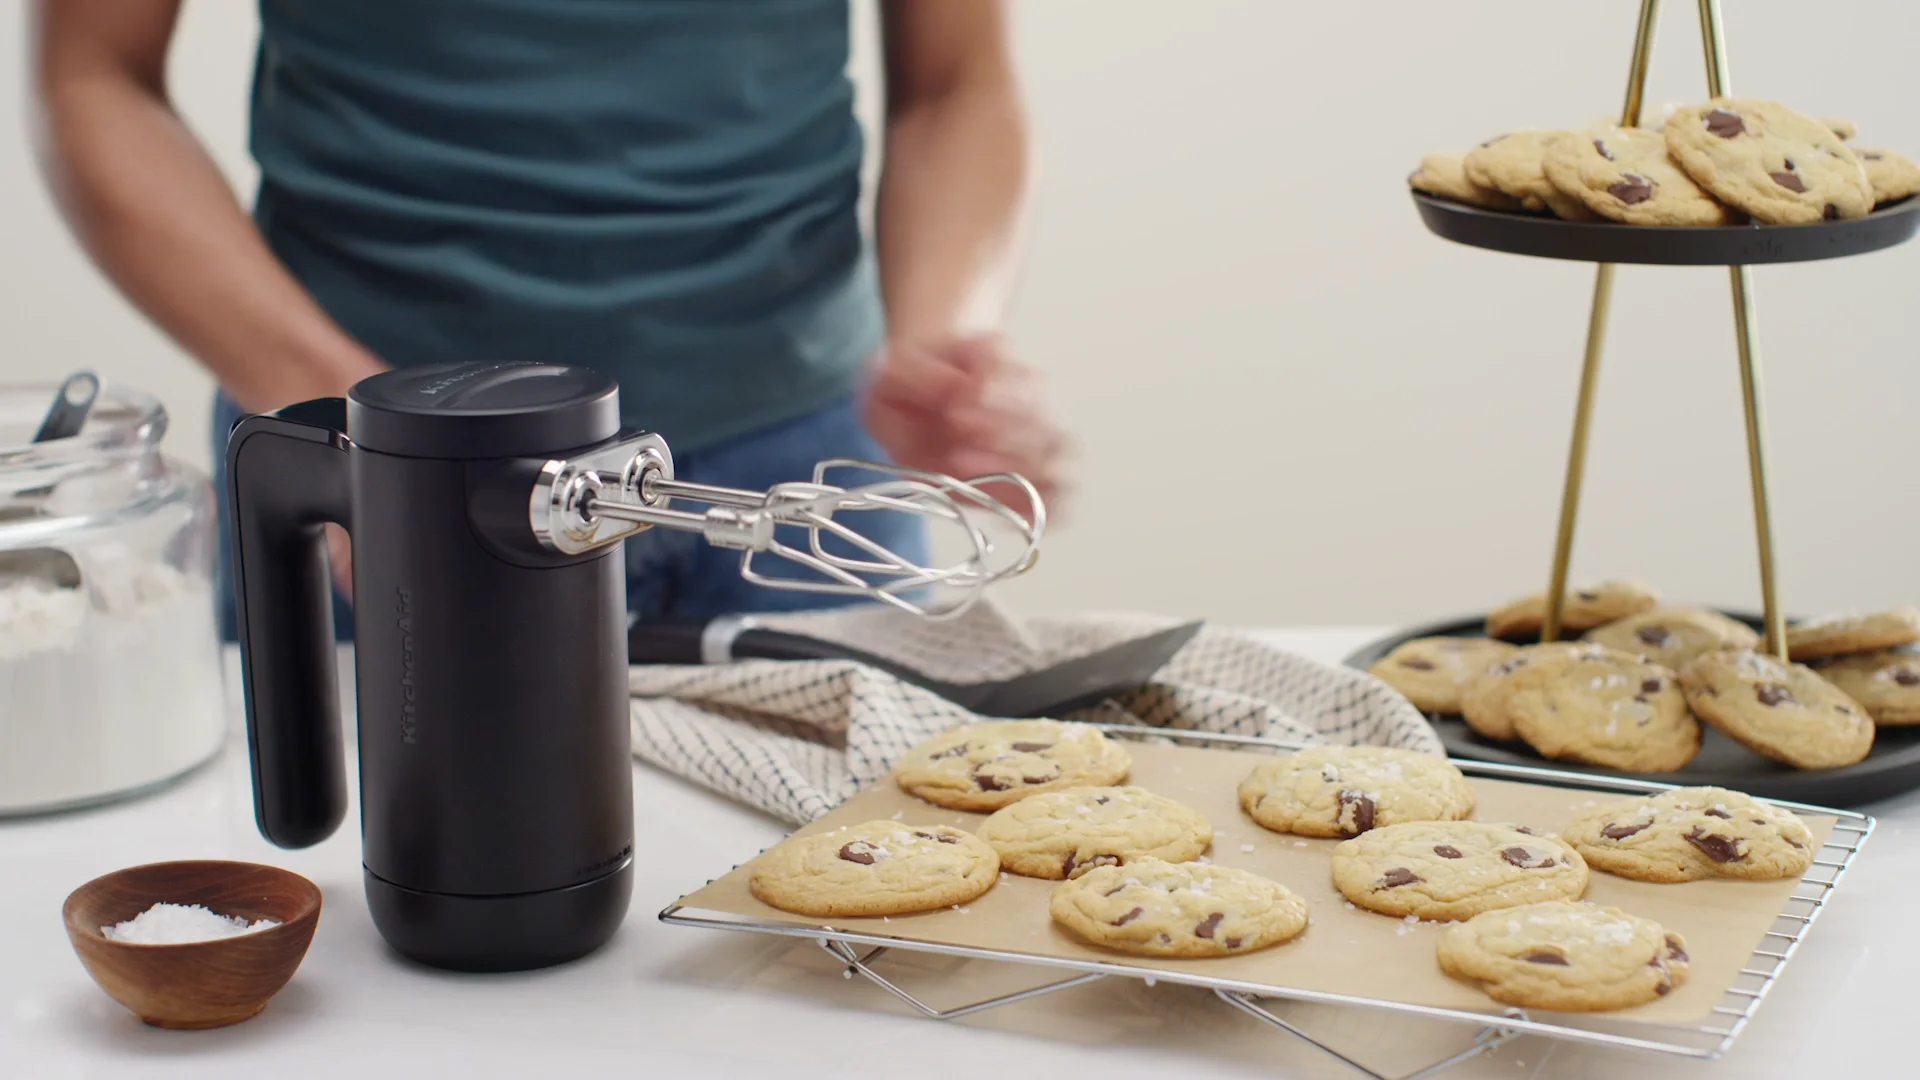
| 1 | KitchenAid 5 Ultra Power Speed Hand Mixer - KHM512, Matte Black |

|
| 2 | Ninja Hand Mixer, Immersion Blender, Foodi Power Mixer System, 750-Peak-Watt Handheld Emulsion Blender & Electric Hand Mixer Combo With Whisk, Beaters & 3-Cup Blending Vessel,120 volts, Black CI101 |
|
| 3 | Proctor Silex Easy Mix 5-Speed Electric Hand Mixer with Bowl Rest, Compact and Lightweight, 215 Watts of Peak Power, Storage Case, Black (62512) |
|
| 4 | KitchenAid 9-Speed Digital Hand Mixer with Turbo Beater II Accessories and Pro Whisk - Contour Silver |
|
| 5 | Hand Mixer Electric Mixing Bowls Set, 5 Speeds Handheld Mixer with 4 Nesting Stainless Steel Mixing Bowl, Measuring Cups Spoons 200W Kitchen Blender Whisk Beater Baking Supplies For Beginner |
|
| 6 | bella 3.5 Qt Hand & Stand Mixer, 2 in 1 Electric Mixer with Bowl, Dough Hook, Whisk & Egg Beater, Multifunctional Handheld Blender & Mixer for Baking, 200 Watt, Surf |
|
| 7 | Hand Mixer Electric, 450W Kitchen Mixers with Scale Cup Storage Case, Turbo Boost/Self-Control Speed + 5 Speed + Eject Button + 5 Stainless Steel Accessories, For Easy Whipping Dough,Cream,Cake |
|
| 8 | Hand Mixer Attachments Beater 6Pcs, Whisk, Blending Rod and Dough Hooks, Stainless Steel Hand Mixer Accessories for Kitchenaid Hand Mixers KHM3 KHM5 KHM7 KHM9, Dishwasher Safe |
|
| 9 | Hand Mixer Electric, 400W Food Mixer 5 Speeds Handheld Blender, 5 Stainless Steel Accessories, Storage Box, Kitchen Blender with Cord for Cream, Cookies, Dishwasher Safe, White |
|
| 10 | Cuisinart HM-90BCS Power Advantage Plus 9-Speed Handheld Mixer with Storage Case, Brushed Chrome |
|
How Do You Attach Beaters? The Foolproof Guide
Alright, let’s get to the main event. You’ve got your mixer and your beaters. Here’s how to put them together safely and securely in just a few simple steps.
- Safety First: Unplug Everything!
Before you even think about attaching or removing anything, make sure your hand mixer is completely unplugged from the wall socket. This is the single most important rule of using a hand mixer. It’s a simple step that prevents any accidental starts. - Inspect Your Beaters
Take a close look at the top of your two beaters. You’ll likely notice a small difference. One beater will have a little extra piece on its stem—a small collar, ring, or flange. The other one will be plain. This isn’t a manufacturing mistake; it’s by design!Expert Tip: That little collar is the key! It’s designed to ensure the beaters rotate correctly without clashing into each other. Getting them in the right slots is crucial for the mixer’s performance and longevity.
- Match the Beater to the Right Slot
Now, look at the bottom of your hand mixer where the beaters go in. You’ll see two holes. Often, one of these holes will have a small symbol or illustration next to it that matches the collar on the special beater.- The beater with the collar goes into the larger or designated socket.
- The beater without the collar goes into the other, smaller socket.
- Insert and Click
Take one beater at a time and gently push the stem straight into the corresponding hole. You don’t need to force it. Push it in until you hear a satisfying “click”. That click is the sound of the spring-loaded mechanism locking the beater in place. Give it a gentle tug to make sure it’s secure. Repeat with the second beater in its correct slot.
And that’s it! You’ve successfully and safely attached your beaters. Now you’re ready to mix.
Pro Tips for Getting the Most Out of Your Hand Mixer
Attaching the beaters is just the first step. To truly elevate your kitchen game, keep these tips in mind.
- Start Low, Go Slow: Always begin mixing on the lowest speed setting to combine your ingredients without splattering them everywhere. Gradually increase the speed as the mixture comes together.
- The “Tilt and Rotate” Method: For even mixing, tilt the bowl slightly towards you and slowly move the hand mixer around the bowl in a circular motion. This ensures every bit of batter gets incorporated.
- Don’t Overmix: This is especially important for things like muffin batter and pancakes. Mix just until the ingredients are combined. Overmixing can lead to tough, dense baked goods.
- Use the Right Attachment for the Job: While the standard beaters are versatile, using a whisk attachment for egg whites will give you more volume, and dough hooks are a must for kneading bread dough without straining the motor.
Hand Mixer vs. Stand Mixer vs. Whisk: Which is Right for You?
New bakers often wonder if they need to invest in a big, expensive stand mixer. Here’s a quick breakdown to help you decide.
| Feature | Hand Mixer | Stand Mixer | Hand Whisk |
|---|---|---|---|
| Best For | Quick jobs, small batches, everyday tasks | Large batches, heavy doughs, hands-free mixing | Small, quick tasks like eggs or vinaigrette |
| Cost | $20 – $100 | $200 – $700+ | $5 – $20 |
| Storage | Compact, fits in a drawer | Requires significant counter or cupboard space | Fits in a utensil crock or drawer |
| Effort | Requires holding and moving | Hands-free operation | Full manual arm workout |
| Cleanup | Easy (just wash the beaters) | More complex (bowl, beater, splash guard) | Super easy (one piece to wash) |
A hand mixer is often the perfect, practical choice for most home cooks. It strikes an incredible balance between power, convenience, and cost.
Keeping Your Mixer in Tip-Top Shape: Cleaning and Storage
Proper care ensures your mixer will be your trusty kitchen sidekick for a long time.
How to Clean Your Hand Mixer
- Unplug it first! Yes, this rule applies to detaching beaters, too.
- Press the eject button. On most models, a single button press will release both beaters. Never try to pull them out without using the eject button, as this can damage the locking mechanism.
- The beaters, dough hooks, and whisks are almost always dishwasher safe (check your manual to be sure). Or, you can easily wash them by hand in warm, soapy water.
- For the mixer body itself, simply wipe it down with a damp cloth. Never submerge the main body of the mixer in water.
How to Store Your Hand Mixer
Many modern mixers come with a handy storage case that clips onto the bottom of the mixer, holding the attachments and the cord neatly. If yours doesn’t have one, simply wrap the cord loosely around the mixer body and store the beaters alongside it in a drawer. This prevents the cord from getting tangled and damaged.
Frequently Asked Questions (FAQ)
Q1: Why is there a small plastic ring or collar on one of my beaters?
That collar is a crucial design feature. It ensures that the specific beater is inserted into the correct socket on the mixer, which is slightly offset. This prevents the beaters from hitting each other while they rotate at high speeds, ensuring smooth operation and protecting the gears.
Q2: What happens if I put the beaters in the wrong holes?
On some models, they simply won’t fit or click into place. On others, they might fit, but you’ll hear a clanking or grinding noise when you turn the mixer on as they hit each other. To avoid damaging your mixer, always match the collared beater to the designated slot.
Q3: How do I remove the beaters from my hand mixer?
After ensuring the mixer is unplugged, simply press the “Eject” button, which is usually located on the top of the handle. The beaters should pop right out. Avoid pulling them out by force.
Q4: Can I use beaters from a different brand on my mixer?
It’s not recommended. The stems of beaters are designed to fit the specific locking mechanism of their corresponding brand and model. Using mismatched beaters could result in a poor fit, causing them to wobble, fall out during use, or even damage the mixer’s internal gears.
Q5: My beater won’t click in. What should I do?
First, make sure you’re putting the correct beater in the correct slot. If it’s the right one and it still won’t lock, check the socket for any dried batter or debris that might be blocking the mechanism. Clean it out carefully with a skewer or a small brush (with the mixer unplugged, of course!). If it still doesn’t work, the spring mechanism may be faulty.
Your First Step to Baking Success
There you have it. What seemed like a small puzzle is actually a simple, smart piece of kitchen engineering. Mastering how do you attach beaters is the first step on a delicious journey of baking and cooking. It’s a foundational skill that ensures your equipment works perfectly every time, letting you focus on the fun part: creating amazing food. Now that you know the secret of the collared beater, go forth and mix with confidence! We’d love to hear about your own kitchen adventures, so feel free to share your experiences in the comments below.