Let’s be honest, there’s a certain magic to making bread from scratch. The smell, the transformation of simple ingredients, and that first warm slice are pure bliss. But then comes the cleanup. Staring at those dough hooks, caked in a sticky, stubborn mess, can quickly zap the joy out of your baking triumph. Knowing exactly How To Clean Dough From Dough Hooks efficiently is a skill every home baker needs, turning a frustrating chore into a simple, two-minute task.
You’ve kneaded your dough to perfection, and now you’re left with the aftermath. Don’t let that sticky residue win! As your resident hand mixer experts, we’re here to walk you through the definitive, no-fuss methods to get your dough hooks sparkling clean and ready for your next culinary adventure. It’s easier than you think, and it will save you a world of scrubbing later.
Why is Dough So Stubbornly Sticky Anyway?
Ever wondered why that dough clings to your hooks for dear life? It all comes down to a little bit of science. When you mix flour and water, two proteins called glutenin and gliadin link up to form gluten. Kneading, whether with a machine or by hand, develops this gluten network, which is what gives bread its wonderful chewy structure.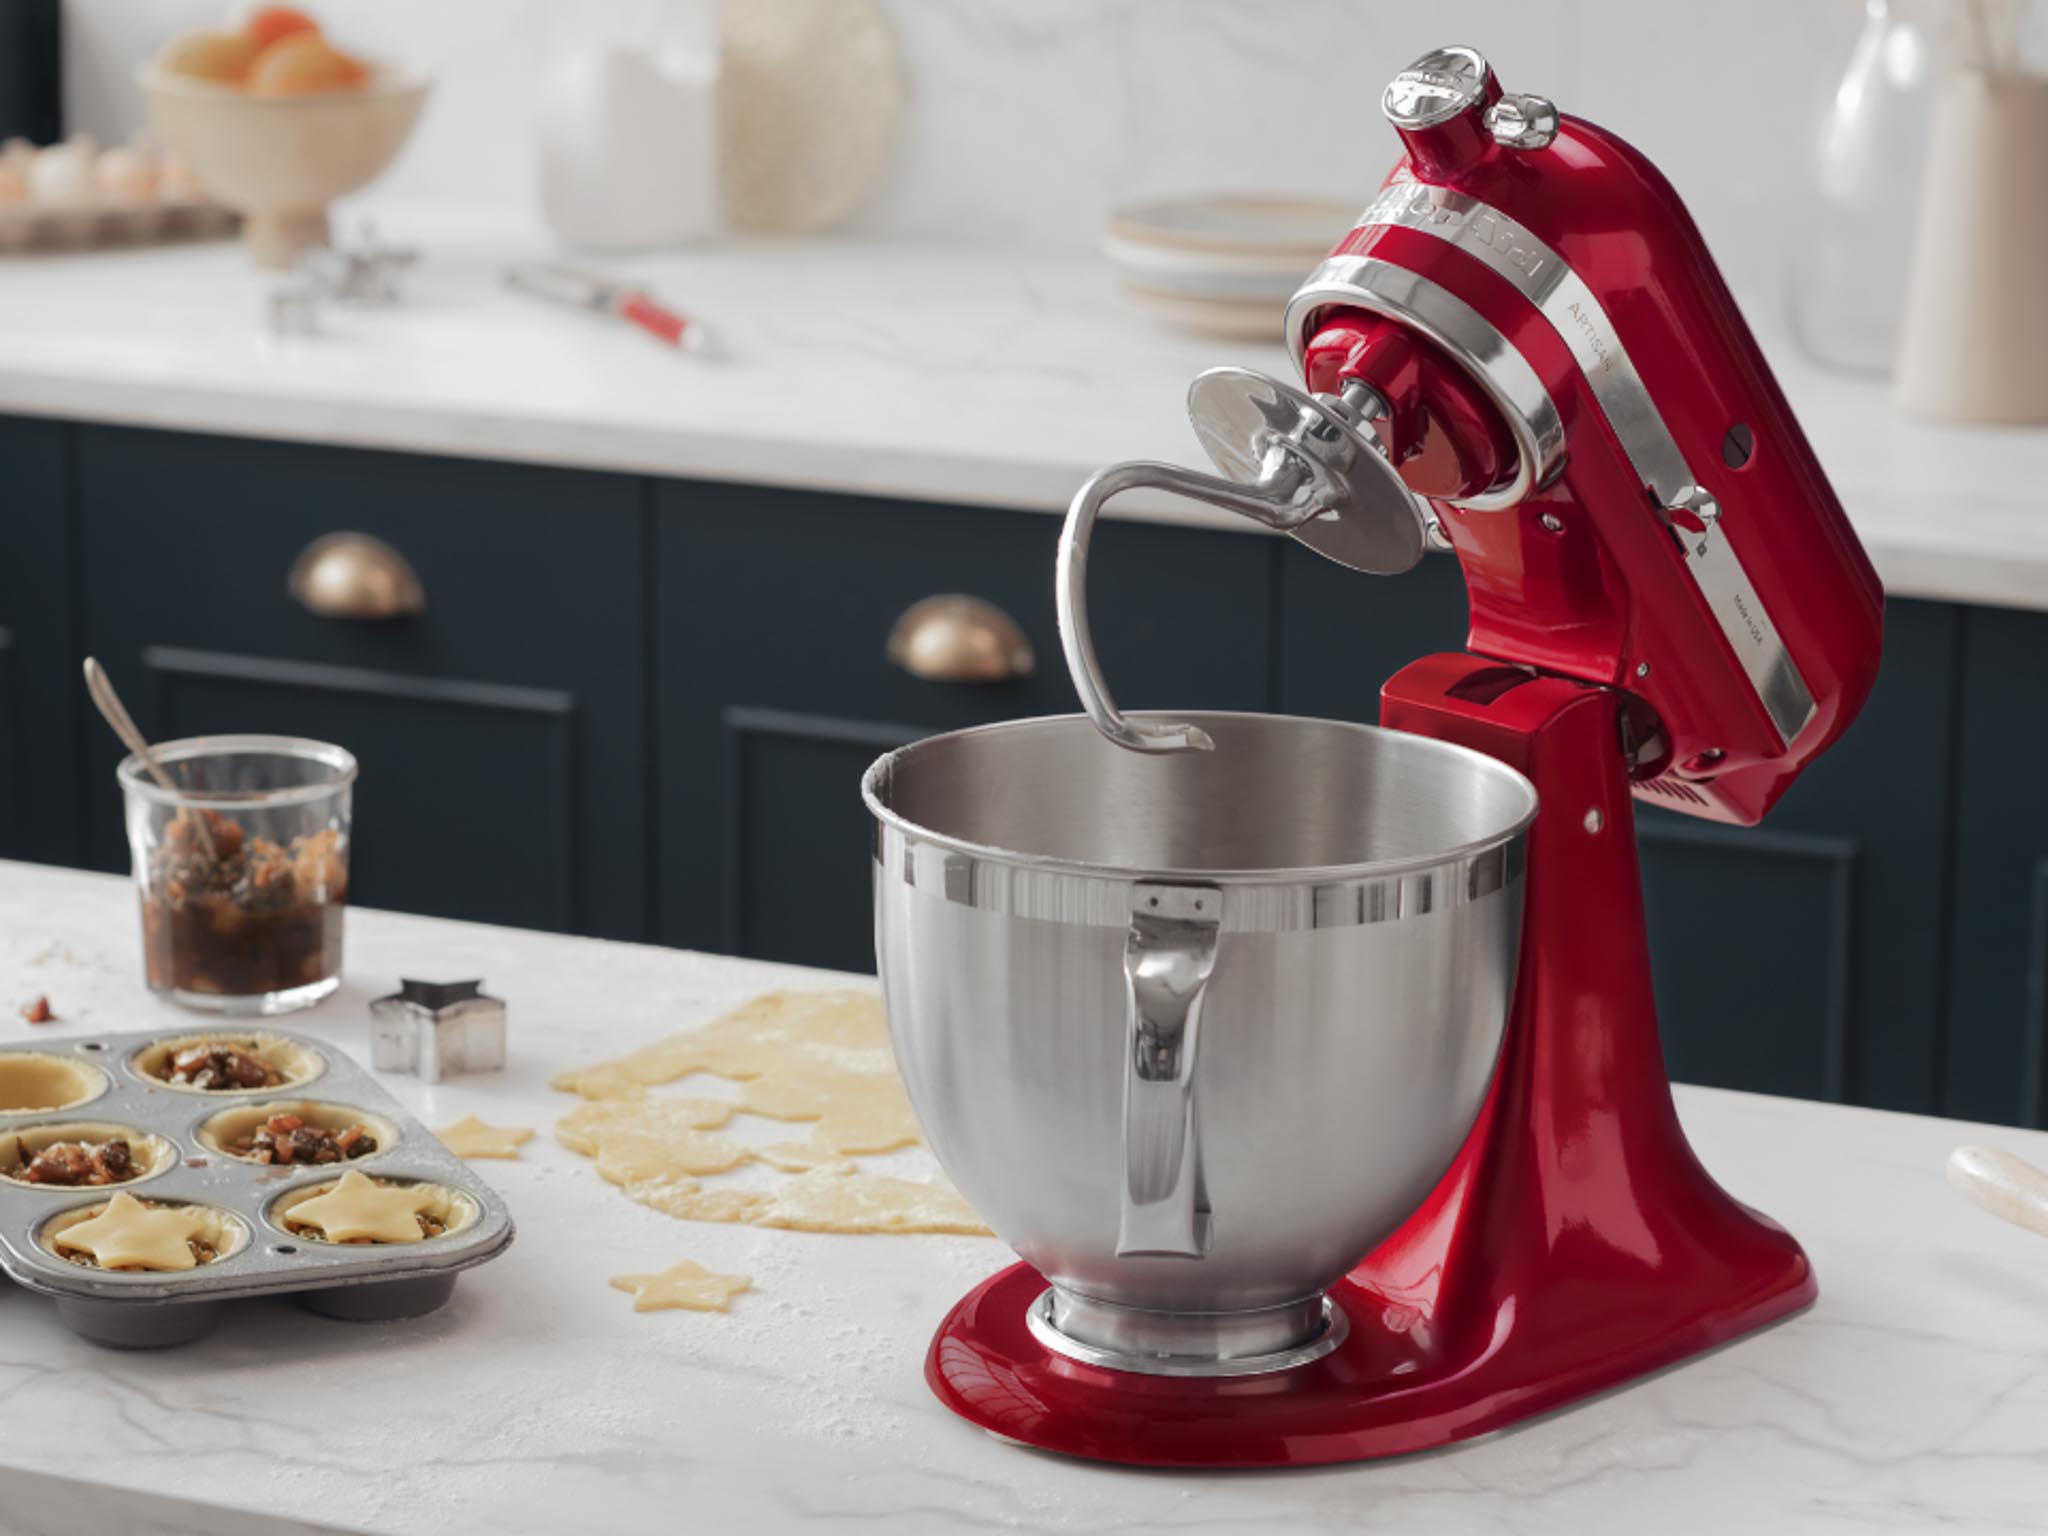
This network is elastic and, you guessed it, incredibly sticky. It’s designed to trap gas bubbles from the yeast, but it’s equally good at trapping itself onto your kitchen tools. So, that stubborn mess isn’t a sign you did something wrong; it’s a sign you’re on your way to a great bake! The trick is knowing how to outsmart the gluten once the job is done.
The Best Method: How to Clean Dough From Dough Hooks Step-by-Step
Forget aggressive scrubbing or letting them crust over in the sink. The most effective method is a combination of immediate action and a little patience. Follow these steps for perfectly clean hooks every time.
- Act Fast: The Scrape and Flick
- The moment you finish kneading, turn off and unplug your hand mixer.
- Eject the dough hooks over your mixing bowl.
- Use a silicone spatula or a bowl scraper to remove the largest clumps of dough. Most of it should come off easily while it’s still wet and pliable. Scrape it right back into your main dough ball—no waste!
- The Soak: Your Secret Weapon
- Don’t just toss the hooks in the sink. Fill a glass or a small bowl with warm, soapy water.
- Place the dough hooks, tip down, into the water, ensuring all the dough-covered parts are submerged.
- Let them soak for at least 10-15 minutes. This is the magic step. The warm water will break down the starches and dissolve the gluten’s grip, doing most of the work for you. Go ahead, have a cup of tea while you wait.
- The Final Wipe: A Gentle Finish
- After soaking, remove the hooks from the water. You’ll find that most of the remaining dough has turned into a soft slurry.
- Use a sponge or a dishcloth to easily wipe away the residue. It should slide right off with minimal effort. For any tiny bits caught in crevices, a small dish brush or an old toothbrush works wonders.
- Rinse the hooks thoroughly under clean, running water.
- Dry Immediately and Thoroughly
- This step is crucial for preventing rust, especially on hooks that aren’t 100% high-grade stainless steel.
- Use a clean, dry towel to wipe them down completely before storing them. Don’t let them air dry, as this can lead to water spots or even corrosion over time.
Expert Tip: “The biggest mistake I see home bakers make is letting the dough dry on their hooks,” notes professional pastry chef Maria Jenkins. “It turns into a concrete-like substance that requires serious elbow grease. A simple 10-minute soak in warm water right after use saves you 10 minutes of hard scrubbing later. Work smarter, not harder.”
What NOT to Do When Cleaning Your Hooks
Learning how to clean dough from dough hooks also means knowing what to avoid. Steer clear of these common mistakes to protect your attachments and your hand mixer.
- Don’t Use Abrasive Scrubbers: Steel wool or harsh scouring pads can scratch the finish on your dough hooks. This is especially damaging for non-stick coated hooks, as scratches can cause the coating to flake off into your food over time.
- Don’t Forget to Unplug: This might seem obvious, but always, always make sure your hand mixer is unplugged before you try to clean or even touch the attachments. Safety first!
- Don’t Store Them Wet: As mentioned above, putting away damp hooks is a recipe for rust and mildew. A few extra seconds of drying will dramatically extend the life of your accessories.
Can You Put Dough Hooks in the Dishwasher?
This is one of the most common questions we get, and the answer is a classic: it depends.
A quick look in your hand mixer’s instruction manual is the best way to get a definitive answer. However, here’s a general rule of thumb:
- Solid Stainless Steel Hooks: Most hooks made from 100% stainless steel are dishwasher-safe. They are durable and built to withstand the high heat and detergents. Pop them on the top rack for the best results.
- Coated or Aluminum Hooks: Be very cautious with these. Some hand mixers come with hooks that have a non-stick coating or are made from lighter metals. The high heat and harsh detergents in a dishwasher can cause the coating to degrade or the metal to oxidize and tarnish. If you’re unsure, hand-washing is always the safest bet.
Even if your hooks are dishwasher-safe, we still recommend a quick pre-rinse or scrape to get the big clumps off. No dishwasher is a match for a huge, dried-on glob of bread dough.
|
Our Picks for the Best Hand Mixer in 2025
As an Amazon Associate, we earn from qualifying purchases.
|
||
| Num | Product | Action |
|---|---|---|
| 1 | KitchenAid 5 Ultra Power Speed Hand Mixer - KHM512, Matte Black |

|
| 2 | Hand Mixer Attachments Beater 6Pcs, Whisk, Blending Rod and Dough Hooks, Stainless Steel Hand Mixer Accessories for Kitchenaid Hand Mixers KHM3 KHM5 KHM7 KHM9, Dishwasher Safe |
|
| 3 | Hand Mixer Electric, 400W Food Mixer 5 Speeds Handheld Blender, 5 Stainless Steel Accessories, Storage Box, Kitchen Blender with Cord for Cream, Cookies, Dishwasher Safe, White |
|
| 4 | KitchenAid 9-Speed Digital Hand Mixer with Turbo Beater II Accessories and Pro Whisk - Contour Silver |
|
| 5 | Cuisinart HM-90BCS Power Advantage Plus 9-Speed Handheld Mixer with Storage Case, Brushed Chrome |
|
| 6 | bella 3.5 Qt Hand & Stand Mixer, 2 in 1 Electric Mixer with Bowl, Dough Hook, Whisk & Egg Beater, Multifunctional Handheld Blender & Mixer for Baking, 200 Watt, Surf |
|
| 7 | Ninja Hand Mixer, Immersion Blender, Foodi Power Mixer System, 750-Peak-Watt Handheld Emulsion Blender & Electric Hand Mixer Combo With Whisk, Beaters & 3-Cup Blending Vessel,120 volts, Black CI101 |
|
| 8 | Hand Mixer Electric Mixing Bowls Set, 5 Speeds Handheld Mixer with 4 Nesting Stainless Steel Mixing Bowl, Measuring Cups Spoons 200W Kitchen Blender Whisk Beater Baking Supplies For Beginner |
|
| 9 | Hand Mixer Electric, 450W Kitchen Mixers with Scale Cup Storage Case, Turbo Boost/Self-Control Speed + 5 Speed + Eject Button + 5 Stainless Steel Accessories, For Easy Whipping Dough,Cream,Cake |
|
| 10 | Proctor Silex Easy Mix 5-Speed Electric Hand Mixer with Bowl Rest, Compact and Lightweight, 215 Watts of Peak Power, Storage Case, Black (62512) |
|
Pro-Tips to Prevent a Sticky Mess in the First Place
The ultimate guide on how to clean dough from dough hooks wouldn’t be complete without telling you how to make the job easier from the start.
- A Light Coat of Oil: Before you start mixing, apply a very thin layer of neutral cooking oil or cooking spray to your dough hooks. This creates a non-stick barrier that helps the dough release more cleanly when you’re done.
- Check Your Hydration: An overly wet or sticky dough will, of course, stick more. While some recipes call for high hydration, ensure your measurements are accurate. If your dough seems excessively sticky, adding flour one tablespoon at a time can help make it more manageable without drying it out.
- Don’t Over-Knead: Kneading is essential, but over-kneading with a hand mixer can sometimes make the dough gummier and stickier as the gluten structure begins to break down. Stick to your recipe’s recommended mixing time. Our guide on how to use a hand mixer for dough can help you master the technique.
Frequently Asked Questions (FAQ)
How do you get dried dough off of hooks?
If you forgot to soak them, don’t panic. Submerge the hooks in hot, soapy water for at least 30-60 minutes to rehydrate and soften the dried dough. You may need to gently scrape with a wooden or plastic utensil before washing with a sponge.
Is it better to clean dough hooks right away?
Absolutely. Cleaning them immediately, or at least putting them to soak, is the single best thing you can do. Fresh dough is soft and comes off easily, while dried dough requires much more time and effort to remove.
Why are my dough hooks rusting?
Rust is typically caused by prolonged exposure to moisture. This can happen if they are left to air dry, stored while still damp, or if the protective coating has been scratched off, exposing the metal underneath. Always dry your hooks completely by hand.
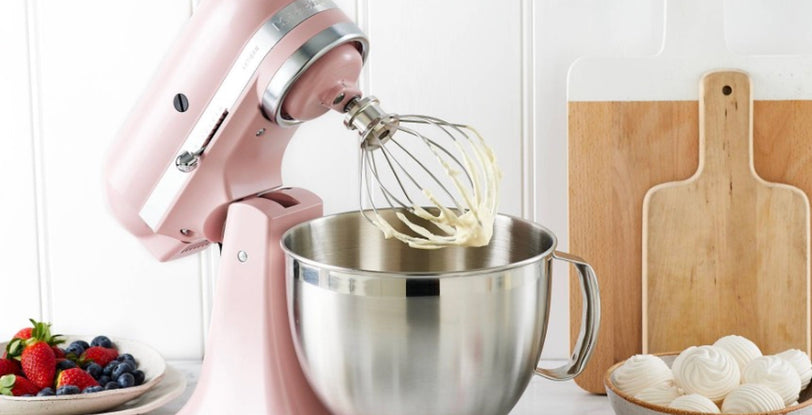
Can I use the same cleaning method for beater attachments?
Yes! The same “soak and wipe” method works perfectly for standard beaters caked in batter or frosting. Batters are usually less stubborn than bread dough, so a shorter soak time is often sufficient.
What’s the best way to store hand mixer attachments?
Many hand mixers come with a storage case or a clip-on holder, which is ideal. If not, keeping them in a dedicated drawer organizer or a small container prevents them from getting lost or damaged. Make sure they are 100% dry before storing.
Conclusion: Clean Hooks, Happy Baking
Mastering how to clean dough from dough hooks is a small but significant step in becoming a more confident and efficient home baker. By adopting the simple “scrape, soak, and wipe” method, you can say goodbye to frustrating cleanup sessions and hello to more time enjoying your delicious, homemade creations.
Remember, a well-maintained hand mixer is a reliable partner in the kitchen. Taking proper care of its attachments not only makes your life easier but also ensures your trusty gadget will be ready to tackle any recipe you throw at it for years to come. Now, go forth and bake without fear of the cleanup! We’d love to hear your own tips and tricks in the comments below.