Let’s be honest, we’ve all been there. You’re staring at a recipe that calls for “stiff peaks,” holding a hand mixer with two very different-looking attachments. One looks like a standard beater, but the other… it’s this round, wiry, almost delicate-looking thing. That, my friend, is the whisk attachment, and it’s your secret weapon for all things light and airy. If you’ve ever wondered How To Use A Whisk Attachment to its full potential, you’ve come to the right place. It’s not just a spare part; it’s a game-changer for your baking.
That little balloon of wires is designed for one primary job: incorporating air. While your standard beaters are the workhorses for creaming butter and sugar or mixing dense cake batters, the whisk attachment is the artist, designed to whip and aerate liquids into fluffy, cloud-like submission. Think of it as a super-powered version of a manual whisk, saving your arm from a serious workout.
What Exactly Is a Whisk Attachment, Anyway?
A whisk attachment, often called a balloon whisk, is a hand mixer accessory with a distinct shape. It features a series of thin, flexible wire loops that join at the base, creating a rounded, bulbous or “balloon” shape. This design is pure genius. The wide spread of the wires allows it to move through liquids with minimal resistance while maximizing contact with the mixture and the air above it. Each rotation folds in countless tiny air bubbles, dramatically increasing the volume and creating a light, airy texture. This is a stark contrast to standard beaters, which are designed more for combining, mashing, and plowing through thicker ingredients.
When Should You Reach for the Whisk Attachment?
Knowing when to swap out your standard beaters for the whisk attachment is the key to unlocking next-level textures in your kitchen creations. If you see the words “whip,” “aerate,” or “light and fluffy,” that’s your cue.
- Whipping Cream: This is the whisk attachment’s time to shine. It will transform liquid heavy cream into soft, billowy whipped cream for topping pies, cakes, and hot chocolate far more efficiently than standard beaters.
- Beating Egg Whites: Meringues, angel food cakes, and soufflés all rely on perfectly beaten egg whites. The whisk attachment is the only tool for the job, capable of turning a small pool of egg whites into a voluminous, glossy foam.
- Making Light, Airy Frostings: For frostings like seven-minute frosting or ermine buttercream, which rely on a whipped, aerated base, the whisk attachment is essential for achieving that signature light-as-air texture.
- Emulsifying Vinaigrettes: While you can do this by hand, a quick blitz with the whisk attachment creates a beautifully stable emulsion for salad dressings and marinades in seconds.
Your Step-by-Step Guide: How to Use a Whisk Attachment
Ready to whip up something amazing? Using this attachment is incredibly simple once you know the fundamentals. Follow these steps for perfect results every time.
- Select the Right Bowl. Choose a deep bowl with high sides. This is crucial for preventing splatters as the mixture expands. Glass or metal bowls are ideal, especially for egg whites, as they don’t retain the greasy residue that plastic bowls sometimes do, which can prevent whites from whipping properly.
- Attach It Correctly. Before you plug in the mixer, insert the whisk attachment (or attachments, if your model uses two) into the corresponding slots. You should hear a distinct “click” when it’s securely in place. Give it a gentle tug to be sure.
- Start Low and Slow. This is the golden rule. Begin on the lowest speed setting. Plunging the whisk in at high speed will send your liquid flying all over your kitchen. Start slow until the ingredients are just combined and a little frothy.
- Adopt the Right Motion. Don’t just keep the mixer in one spot. Move it around the bowl in a slow, circular motion. Occasionally tilt the bowl and the mixer to ensure you’re incorporating all of the liquid and whipping everything evenly. The goal is constant movement to introduce as much air as possible.
- Gradually Increase the Speed. Once the mixture is foamy and splatter-risk is low, you can begin to ramp up the speed. For whipping cream and egg whites, you’ll eventually work your way up to a medium-high or high speed to build that beautiful volume.
- Watch for Visual Cues. Learn to recognize what you’re looking for.
- Soft Peaks: When you lift the whisk out, a peak will form, but it will softly flop over immediately. Perfect for folding into batters.
- Firm or Medium Peaks: The peak will hold its shape for the most part, but the very tip will curl over.
- Stiff Peaks: The peak stands straight up without drooping. The mixture will be thick, voluminous, and glossy. Be careful not to go past this point!
Pro Tips from the Kitchen
After years of using these gadgets, I’ve picked up a few tricks that make a world of difference.
“The biggest mistake beginners make is starting on high speed. You get impatient, and you end up wearing your ingredients. Start low, let the foam build, then increase the speed. Patience for the first 30 seconds will save you 10 minutes of cleanup.” – Pastry Chef Jean-Pierre Dubois
- Chill Out: When making whipped cream, chill your bowl and the whisk attachment in the freezer for 15 minutes beforehand. A cold environment helps the fat globules in the cream solidify, allowing them to trap air more effectively, which means faster, more stable whipped cream.
- Fat is the Enemy (of Egg Whites): Even a tiny speck of yolk or grease can ruin your egg whites. Ensure your bowl, whisk, and the whites themselves are completely free of any fat.
- Room Temperature is Key (for Egg Whites): Conversely, egg whites whip up to a greater volume when they are at room temperature. Let them sit out on the counter for about 30 minutes before you start.
- Don’t Walk Away: Over-whipping is a real thing. Over-whipped cream will turn grainy and eventually become butter. Over-whipped egg whites will become dry, clumpy, and will break, making them impossible to fold into a batter. Keep a close eye on the process.
Whisk Attachment vs. Standard Beaters vs. Stand Mixer
So, with all these tools, which one do you need? It all comes down to the job at hand.
The Hand Mixer Whisk Attachment
Perfect for small to medium-sized jobs where aeration is the goal. It’s quick, easy to clean, and gives you excellent control. It’s your go-to for a batch of whipped cream or whipping up a few egg whites for a meringue.
Standard Hand Mixer Beaters
These are your general-purpose attachments. Their design is meant to combine and mix, not necessarily to aerate. Use them for creaming butter and sugar, mixing cookie dough, and blending cake or brownie batters. Using them for whipped cream will take longer and yield a denser result.
The Stand Mixer
A stand mixer is the powerhouse for large-volume or heavy-duty tasks. Its whisk attachment is larger and its motor is more powerful, making it ideal for big batches of meringue or whipping for extended periods. It’s a hands-free hero, but for quick, small tasks, the hand mixer is often more convenient.
How Do I Clean and Store My Whisk Attachment?
Proper care ensures your attachment lasts a lifetime. The answer is simple: clean it immediately after use. This prevents sugary or creamy residue from hardening on the delicate wires, which makes cleaning a nightmare.
Most whisk attachments are dishwasher safe (top rack only!), but always check your manufacturer’s manual. I personally prefer to hand wash them with warm, soapy water. The most important step is to dry it thoroughly before storing to prevent any rust from forming where the wires meet the base. Store it in a drawer where the wires won’t get bent or crushed.
|
Our Picks for the Best Hand Mixer in 2026
As an Amazon Associate, we earn from qualifying purchases.
|
||
| Num | Product | Action |
|---|---|---|
| 1 | Ninja Hand Mixer, Immersion Blender, Foodi Power Mixer System, 750-Peak-Watt Handheld Emulsion Blender & Electric Hand Mixer Combo With Whisk, Beaters & 3-Cup Blending Vessel,120 volts, Black CI101 |

|
| 2 | Cuisinart HM-90BCS Power Advantage Plus 9-Speed Handheld Mixer with Storage Case, Brushed Chrome |
|
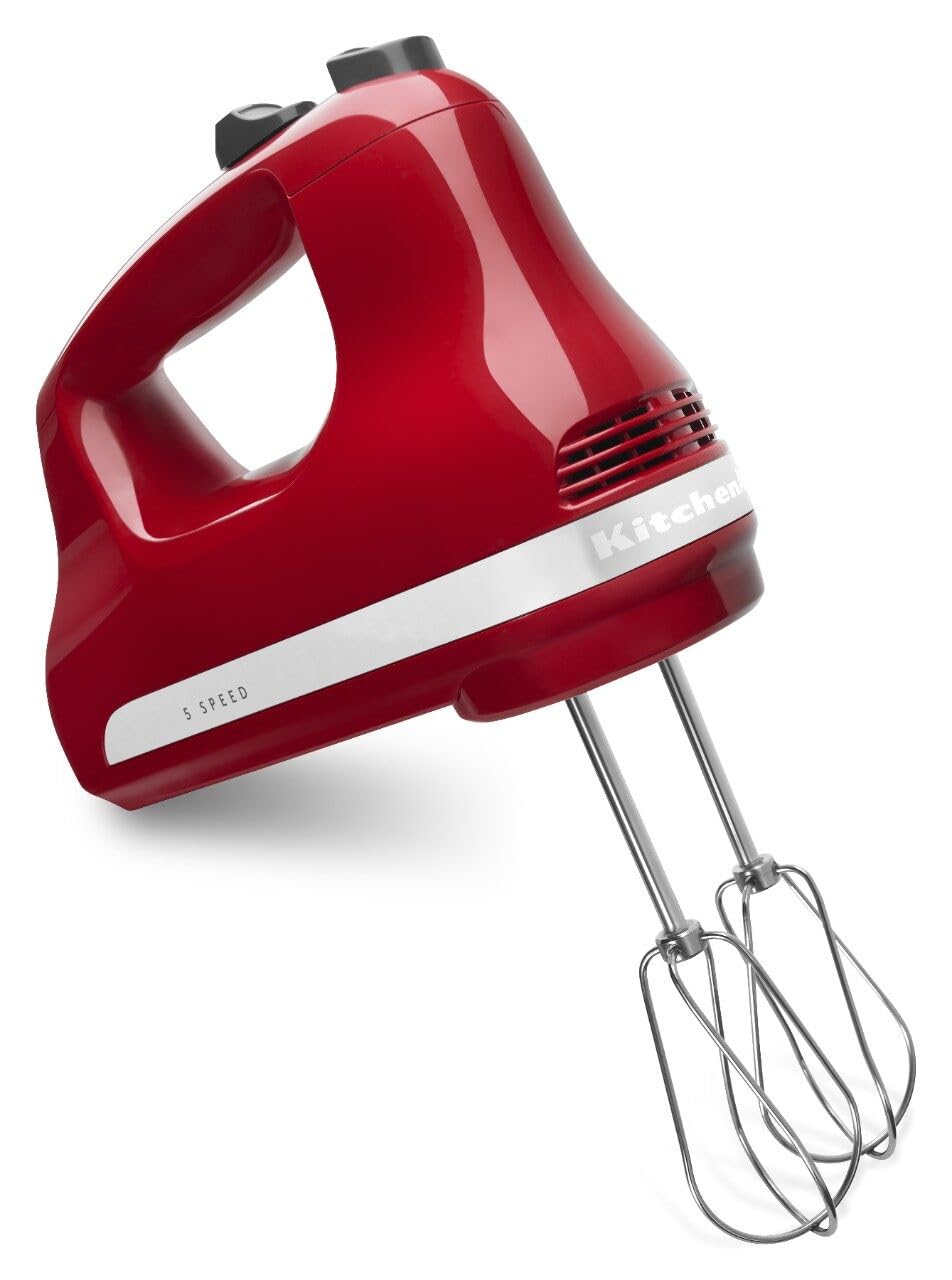
| 3 | KitchenAid 9-Speed Digital Hand Mixer with Turbo Beater II Accessories and Pro Whisk - Contour Silver |
|
| 4 | Hand Mixer Electric, 400W Food Mixer 5 Speeds Handheld Blender, 5 Stainless Steel Accessories, Storage Box, Kitchen Blender with Cord for Cream, Cookies, Dishwasher Safe, White |
|
| 5 | bella 3.5 Qt Hand & Stand Mixer, 2 in 1 Electric Mixer with Bowl, Dough Hook, Whisk & Egg Beater, Multifunctional Handheld Blender & Mixer for Baking, 200 Watt, Surf |
|
| 6 | Hand Mixer Attachments Beater 6Pcs, Whisk, Blending Rod and Dough Hooks, Stainless Steel Hand Mixer Accessories for Kitchenaid Hand Mixers KHM3 KHM5 KHM7 KHM9, Dishwasher Safe |
|
| 7 | Proctor Silex Easy Mix 5-Speed Electric Hand Mixer with Bowl Rest, Compact and Lightweight, 215 Watts of Peak Power, Storage Case, Black (62512) |
|
| 8 | Hand Mixer Electric Mixing Bowls Set, 5 Speeds Handheld Mixer with 4 Nesting Stainless Steel Mixing Bowl, Measuring Cups Spoons 200W Kitchen Blender Whisk Beater Baking Supplies For Beginner |
|
| 9 | KitchenAid 5 Ultra Power Speed Hand Mixer - KHM512, Matte Black |
|
| 10 | Hand Mixer Electric, 450W Kitchen Mixers with Scale Cup Storage Case, Turbo Boost/Self-Control Speed + 5 Speed + Eject Button + 5 Stainless Steel Accessories, For Easy Whipping Dough,Cream,Cake |
|
Frequently Asked Questions
Q: Can I use a single whisk attachment if my mixer came with two?
A: Yes, for most light-duty mixers, you can often use just one whisk attachment in the designated main slot. It will work just fine, though using two will get the job done a bit faster and more symmetrically.
Q: Why isn’t my cream whipping?
A: There are a few common culprits. Your cream might not be cold enough, or you might be using a cream with too low a fat content (look for at least 35% milk fat). Also, make sure your bowl and whisk are cold.
Q: Can I use my whisk attachment to mix cake batter?
A: It’s generally not recommended. A whisk attachment is too delicate for thick batters and is designed to add air. Adding too much air to a standard cake batter can actually ruin its texture, causing it to rise rapidly in the oven and then collapse. Stick to your standard beaters for that job.
Q: How long does it take to whip egg whites to stiff peaks?
A: With a hand mixer, it typically takes anywhere from 4 to 8 minutes, depending on the power of your mixer, the number of egg whites, and their temperature.
Q: My whisk attachment seems flimsy. Is it going to break?
A: While they look delicate, they are designed to be flexible. As long as you use them for their intended purpose (liquids and very light batters) and avoid thick, heavy doughs, they are surprisingly durable.
Your Newfound Whipping Wisdom
The whisk attachment is far more than just an extra piece of metal in your kitchen drawer. It’s a specialized tool that, when you know how to use a whisk attachment correctly, can elevate your recipes from good to absolutely divine. It’s the key to the fluffiest whipped cream, the most stable meringues, and the lightest frostings. So go ahead, snap that whisk attachment into place, and get ready to whip up something spectacular.
We’d love to hear about your own whisking triumphs and challenges! Share your experiences in the comments below.