Let’s be honest, the dream of pulling a warm, crusty loaf of homemade bread from the oven is a powerful one. But the reality of spending ten to fifteen minutes tirelessly kneading dough on a floured countertop can quickly zap your enthusiasm and leave your arms aching. That’s when you look over at your trusty hand mixer and wonder, “Could you be the hero I need?” The answer is a resounding maybe, but it all comes down to one critical question: What Speed For Kneading Dough with a hand mixer is actually effective and, more importantly, safe for your machine?
You’ve come to the right place. As someone who has tested, tinkered with, and even accidentally sacrificed a hand mixer or two in the name of kitchen science, I’m here to guide you through the ins and outs of kneading with this versatile gadget. Forget everything you think you know about high-speed whipping; when it comes to dough, a completely different set of rules applies.
Can You Really Knead Dough with a Hand Mixer?
Before we even talk about speed, we need to address the elephant in the room. Can a compact hand mixer truly handle the tough job of developing gluten in bread dough?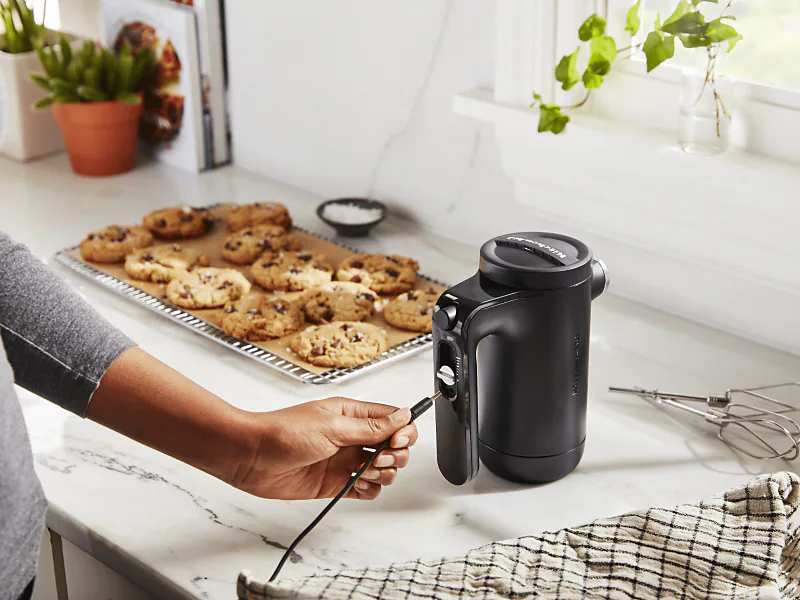
The short answer is yes, but with some big caveats. A hand mixer equipped with proper dough hooks can be a fantastic tool for kneading, especially for softer, higher-hydration doughs like brioche, cinnamon rolls, or some focaccias. However, it will struggle with very stiff, low-hydration doughs like those for bagels or some artisan breads. The key is to know your mixer’s limits.
A Pro’s Two Cents: I always tell people to think of a hand mixer as a powerful assistant, not a heavy-duty workhorse. It’s there to do the initial, sticky, messy work for you, but it might need you to tag in and finish the job by hand for the last couple of minutes.
The Golden Rule: What Speed for Kneading Dough?
Okay, let’s get to the heart of the matter. If you’re going to use your hand mixer for dough, there is one, and only one, speed setting you should ever use.
The correct and only answer is the lowest possible speed setting. Always start on low and stay on low.
Why is Low Speed the Only Option?
This might seem counterintuitive. More power and speed should mean faster kneading, right? Wrong. Here’s the breakdown of why cranking up the dial is a recipe for disaster:
- Motor Strain and Overheating: Kneading dough is the most demanding task you can ask of your hand mixer. A thick dough provides immense resistance. High speeds force the motor to work incredibly hard against this resistance, generating excessive heat. This is the number one way to burn out your mixer’s motor for good.
- Ineffective Gluten Development: The process of kneading is about gently stretching and aligning gluten strands to create an elastic network. A slow, rhythmic motion is ideal. Blasting the dough at high speed tears these delicate strands apart rather than developing them, resulting in a dense, tough final product.
- The Flour Explosion: Have you ever turned a mixer on high in a bowl of flour? It’s a scene straight out of a comedy, with a white cloud erupting all over your kitchen. Starting low keeps the ingredients in the bowl where they belong.
- Lack of Control: Dough is heavy and unpredictable. At high speeds, the mixer can jump and buck, making it difficult to control and potentially slinging dough clear across the room.
Think of it this way: when you knead by hand, you’re not moving at lightning speed. You’re using a slow, deliberate push-and-fold motion. The lowest setting on your hand mixer is designed to mimic that exact action.
A Step-by-Step Guide to Kneading Dough with Your Mixer
Ready to give it a try? Following these steps will give you the best chance for success and keep your mixer happy.
- Attach the Dough Hooks: This is non-negotiable. The C-shaped or spiral dough hooks are specifically designed to handle and manipulate dough. Using standard beaters will not work; they will just get tangled and put even more strain on the motor.
- Combine Ingredients in a Deep Bowl: In a large, sturdy bowl, combine your flour, yeast, salt, sugar, and any other dry ingredients. Add your wet ingredients.
- Initial Mix: On the lowest speed, run the mixer for about 30-60 seconds, just until the ingredients come together into a shaggy, sticky mass. This prevents flour from flying everywhere.
- The Kneading Process (Low and Slow): Continue mixing on the lowest speed. Move the mixer around the bowl, ensuring all parts of the dough are being worked. You’ll notice the dough start to pull away from the sides of the bowl and become smoother.
- Watch the Clock: Do not knead with a hand mixer for more than 3-5 minutes at a time. Many user manuals for even the best hand mixers will state this explicitly. If your recipe calls for 10 minutes of kneading, do it in two or three short bursts with a rest for the motor in between.
- Check for Doneness: The dough is ready when it is smooth, elastic, and can pass the “windowpane test.” To do this, pinch off a small piece of dough and gently stretch it between your fingers. If you can stretch it thin enough to see light through it without it tearing, the gluten is well-developed. If not, it may need another minute of mixing or a few minutes of finishing by hand.
Signs Your Hand Mixer is Crying for Help
Your mixer will give you warning signs that it’s struggling. If you notice any of these, stop immediately and let the machine cool down completely.
- The mixer’s body feels hot to the touch.
- You hear the motor straining, whining, or changing pitch.
- You smell a faint “hot” or burning plastic smell.
- The beaters slow down significantly, even on the same speed setting.
Ignoring these signs is a surefire way to send your trusted kitchen companion to the appliance graveyard. Knowing what speed for kneading dough is about protecting your investment as much as it is about making good bread.
Hand Mixer vs. Stand Mixer vs. Hands: The Kneading Showdown
How does using a hand mixer stack up against the other methods? Each has its place in the kitchen.
| Feature | Hand Mixer | Stand Mixer | By Hand |
|---|---|---|---|
| Best For | Soft, enriched doughs; small batches; bakers with limited space. | Stiff doughs, large batches, frequent bread bakers. | Anyone; great for feeling the dough’s texture. |
| Speed/Power | Limited power; must use low speed only. | Powerful motor; can handle multiple speeds for longer. | Variable; dependent on your own strength and stamina. |
| Convenience | Easy to store and clean; requires active participation. | Hands-free operation; bulky and heavy. | No equipment needed; can be messy and tiring. |
| Cost | Most affordable option. | Significant investment. | Free! |
Frequently Asked Questions (FAQ)
How long should I knead dough with a hand mixer?
As a rule of thumb, do not exceed 3-5 minutes of continuous kneading. The motor needs time to cool. You can work in short bursts, allowing the mixer to rest for a few minutes in between if your dough needs more time.
Can I use the regular beaters for kneading dough?
No, you should never use the standard wire beaters for dough. They are not designed for the resistance dough provides and will likely get tangled or even break, while also overworking your mixer’s motor. Only use the included dough hooks.
What happens if I use a high speed to knead dough?
Using a high speed will almost certainly cause your mixer’s motor to overheat and potentially burn out. It will also tear the gluten strands instead of developing them, leading to poor bread texture, and likely make a huge mess in your kitchen.
My dough keeps climbing up the hooks. What should I do?
This is very common! Simply stop the mixer, scrape the dough back down into the bowl with a spatula, and then resume mixing on low speed. This is a normal part of the process when using a hand mixer.
Is it better to finish kneading by hand?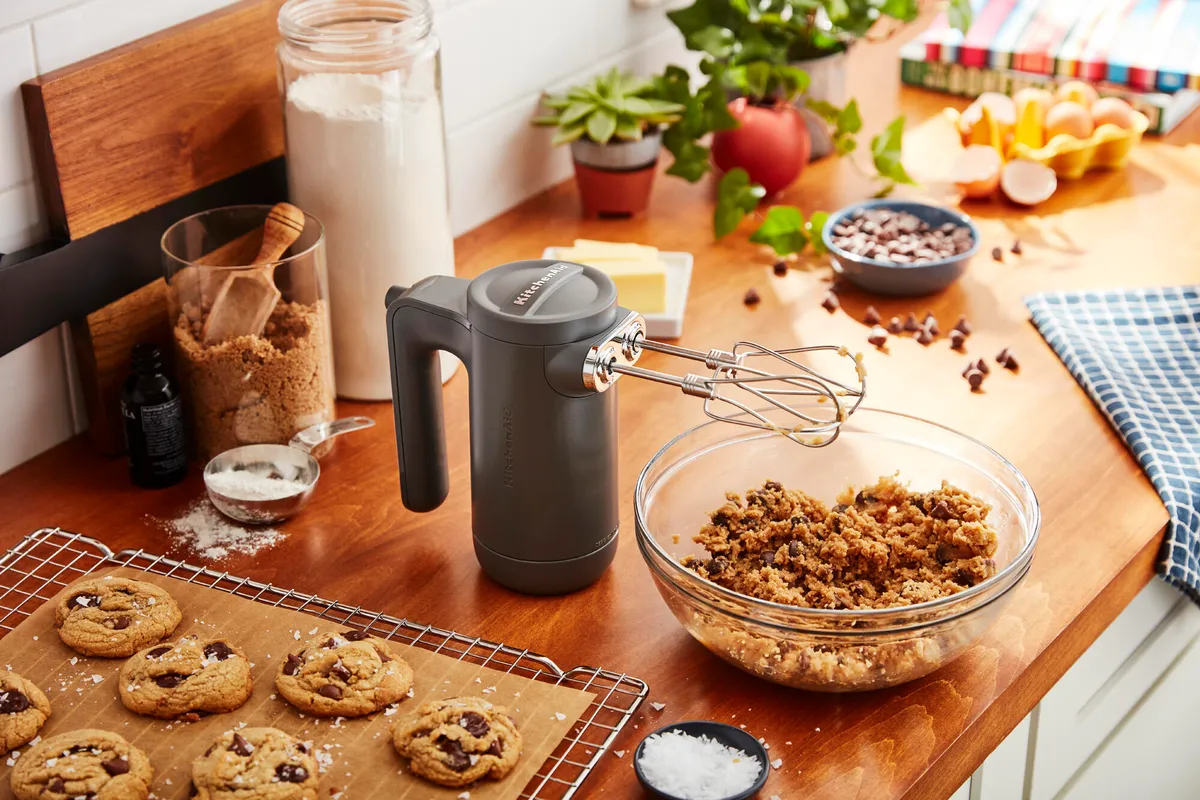
Often, yes. Using a hand mixer to do the initial heavy lifting for 3-4 minutes and then finishing with 2-3 minutes of kneading by hand on a floured surface is a fantastic hybrid approach. It saves your arms while giving you a feel for the dough at the end.
Your Kneading Journey Starts Now
So, the definitive answer to what speed for kneading dough with a hand mixer is simple: low and slow wins the race. By respecting your mixer’s limitations and using the right technique, you can successfully turn it into a valuable bread-making partner. It’s the perfect way to bridge the gap between laborious hand-kneading and investing in a bulky stand mixer.
Now that you’re armed with this knowledge, you can approach that next bread recipe with confidence. Go ahead, break out those dough hooks, and get ready to enjoy the unparalleled satisfaction of baking your own bread, with a little help from your favorite kitchen gadget.